Ready to make your links sleeker, more memorable, and brand-focused?
Vanity URLs are a simple yet impactful way to upgrade your online presence.
This step-by-step guide will walk you through creating your own custom vanity URLs for greater marketing success.
Main Takeaways From This Article:
- A vanity URL is a unique, custom URL used to represent content for branding or marketing purposes, which can be created using link shorteners or content management systems.
- Creating your vanity URL involves selecting a memorable URL domain, checking its availability, registering it, and setting it up to link to your desired content.
- TinyURL provides a user-friendly platform for creating vanity URLs, allowing you to customize URL slugs and monitor the performance of your vanity URLs.
- The process of setting up a vanity URL with TinyURL involves signing up, registering or connecting a custom domain, configuring optional advanced settings, testing your URL, and deploying it in your marketing efforts.
- Vanity URLs are beneficial for enhancing your online presence, providing your website address on your Instagram or Facebook business page, fine-tuning your branding, and tracking the effectiveness of marketing campaigns.
What Is a Vanity URL?
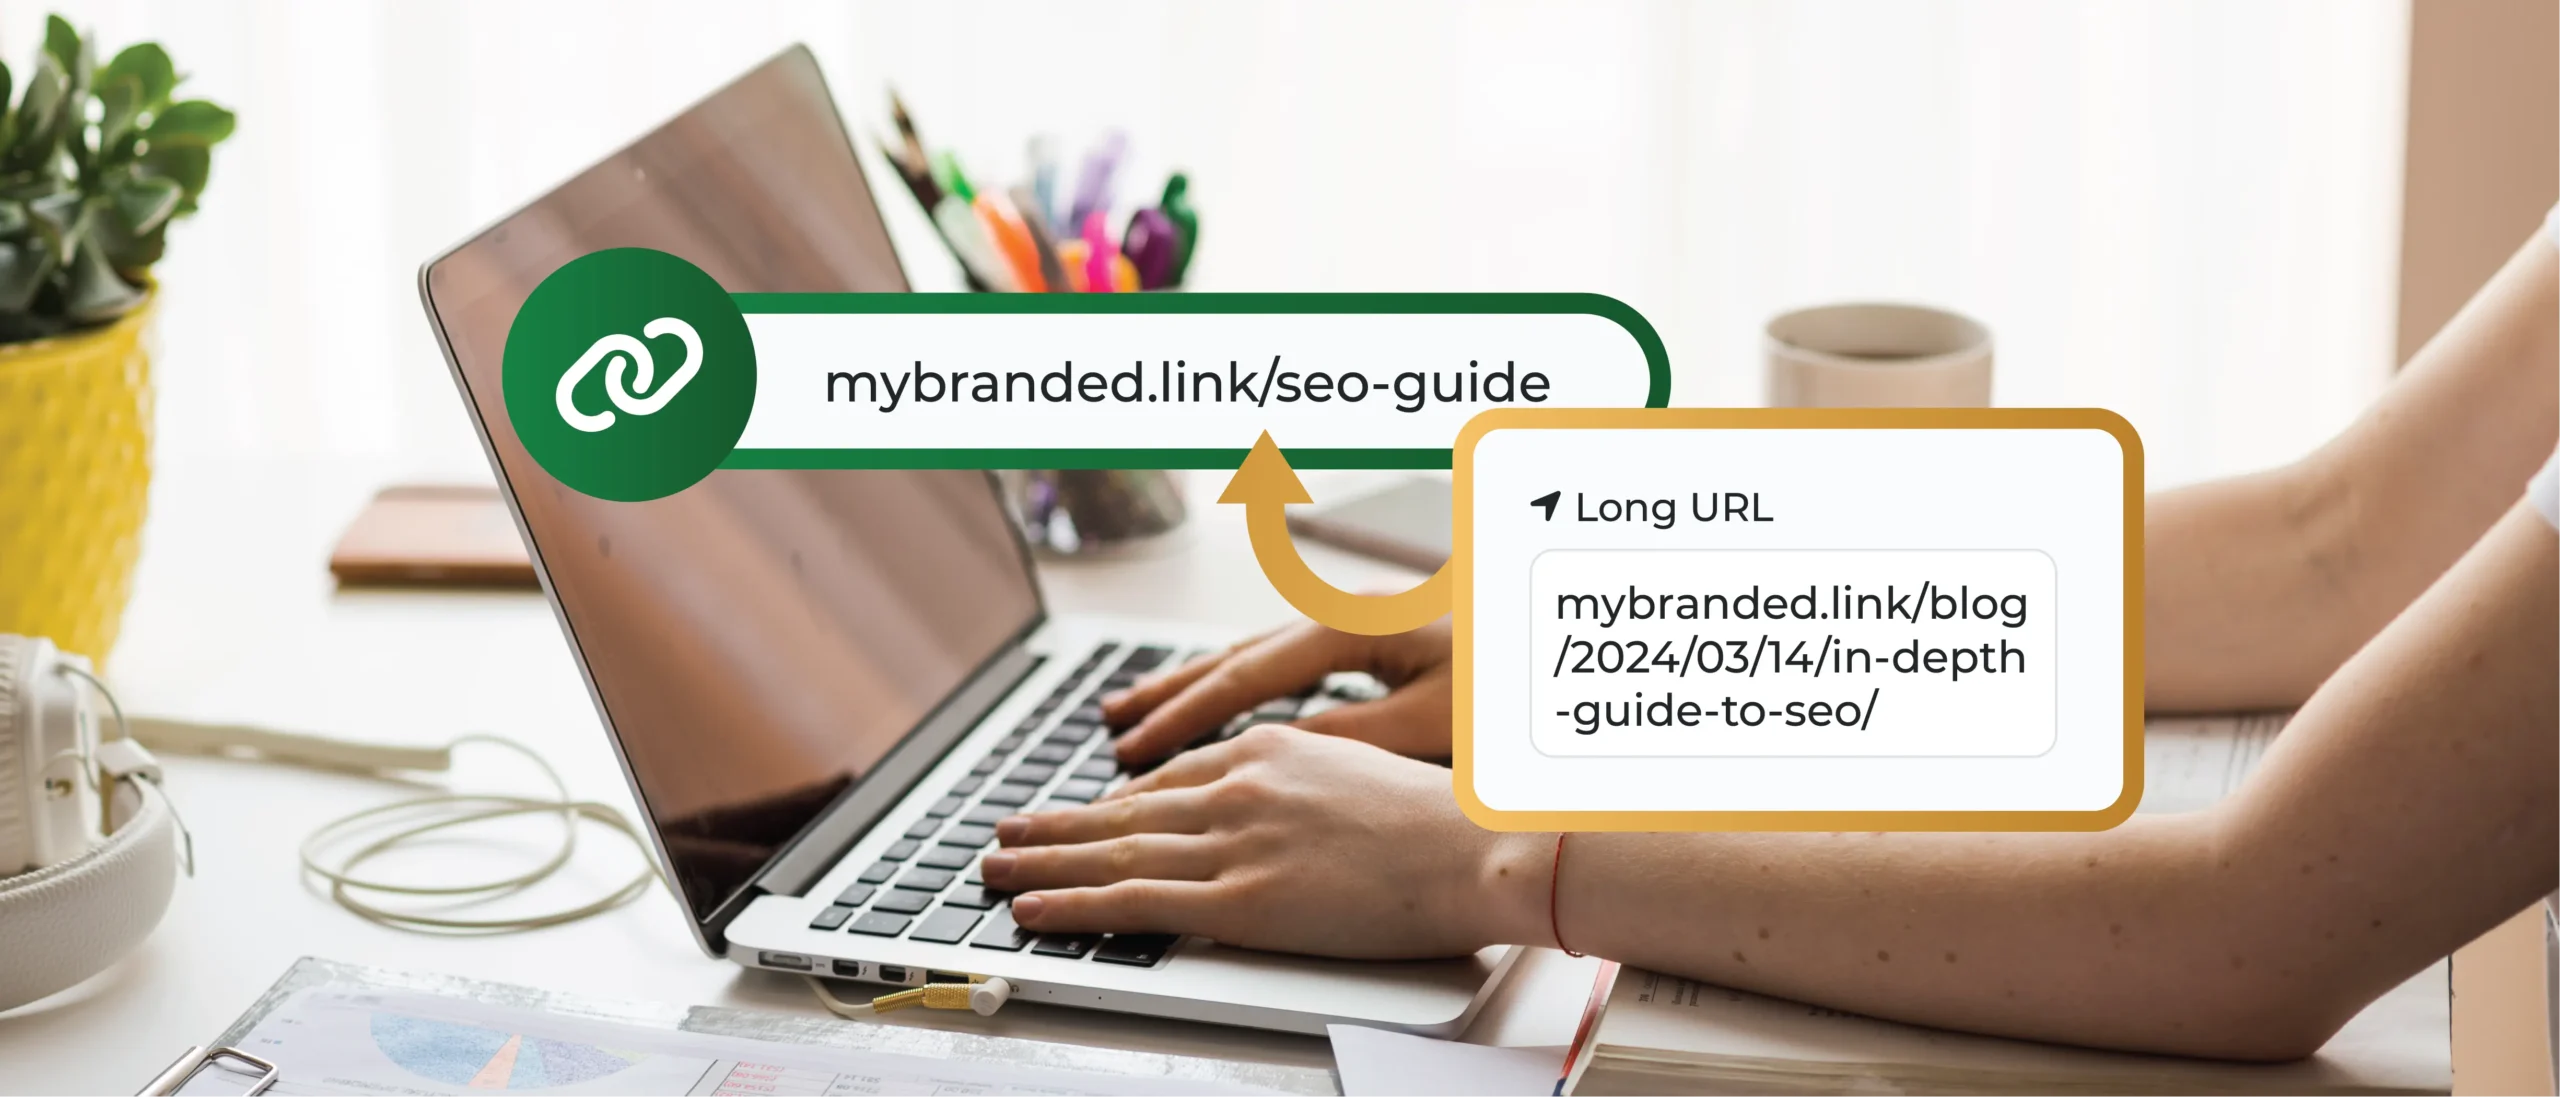
A vanity URL is a custom web address that’s designed to be easy to remember and promote. It typically includes a brand name or a keyword that’s relevant to the content it leads to, making it both user-friendly and effective for branding purposes.
Unlike standard URLs, which can be long and filled with complex characters, vanity URLs are short and straightforward, often used in marketing materials, social media, and advertising campaigns to improve brand visibility and click-through rates.
How Can You Get One?
To create a vanity URL, you can use a link shortener service or a content management system (CMS). Link shorteners like TinyURL allow you to enter a long URL and customize the resulting shortened link to reflect your brand or the specific content it directs to.
On the other hand, many CMS platforms, such as WordPress, offer plugins or built-in features that enable you to create vanity URLs directly within the system. This is particularly useful for managing a website’s internal links and ensuring they align with your branding and SEO strategies.
Whether through a link shortener or a CMS, vanity URLs offer a more polished and professional way to share and promote your content online.
Importance of Vanity URLs
Just like a snazzy business card or a sleek office interior, your URL can make a significant impression. It’s one of the first things people see, and it can substantially influence how people perceive your brand online.
Specifically, a vanity URL can have a powerful impact. But why are vanity URLs so crucial? Here are the top five reasons:
- Brand Awareness and Recognition: A vanity URL sticks out in people’s minds because it’s customized to represent your brand or product. This makes your URL, and by extension, your brand, easy to remember and recognize.
- Increased Credibility: A customized, professional-looking URL appearing on your Instagram or Facebook page can boost your brand’s credibility. A generic, long URL can sometimes look spammy, while a nice, clean, custom vanity URL presents your brand as trustful and established.
- Enhanced User Experience: Vanity URLs are typically short and easy to read, which simply makes them more user-friendly. A clean and clear URL ensures a seamless user experience, which is always a valuable asset in digital interfaces.
- Effective Marketing Tool: Vanity URLs are easy to remember and share, both on digital platforms and offline promotional materials. This can significantly increase your brand’s reach, making them an effective marketing tool.
How To Create a Vanity URL (Step-by-Step)
If you’ve ever wondered how to create a vanity URL, this is your go-to guide. This comprehensive step-by-step guide will demystify the process, making it accessible even for those with limited technical knowledge.
1. Choose Your Vanity URL’s Domain
Your domain name serves as your digital address where internet users will find you. It’s crucial that this embodies your brand, is easy to spell, and is memorable. You might be tempted to get creative with unconventional spellings to stand out, but remember you want your audience to find you with ease. So, straight, simple, and to the point.
- A shorter domain is easier to remember and type.
- Avoid numbers and hyphens, as these complicate your domain and make it harder to remember.
The next step is the URL slug, which is the part of the URL that comes after the domain. It ought to be related to your page or brand, descriptive yet brief. Think of it as a breadcrumb trail leading users directly to your content.
- Keep it concise, as long URL slugs can be challenging to remember and unappealing to click.
- Maintain relevance to your content or target topic.
- Make sure it reads naturally, like “ice-cream-flavors” instead of “flvr123”.
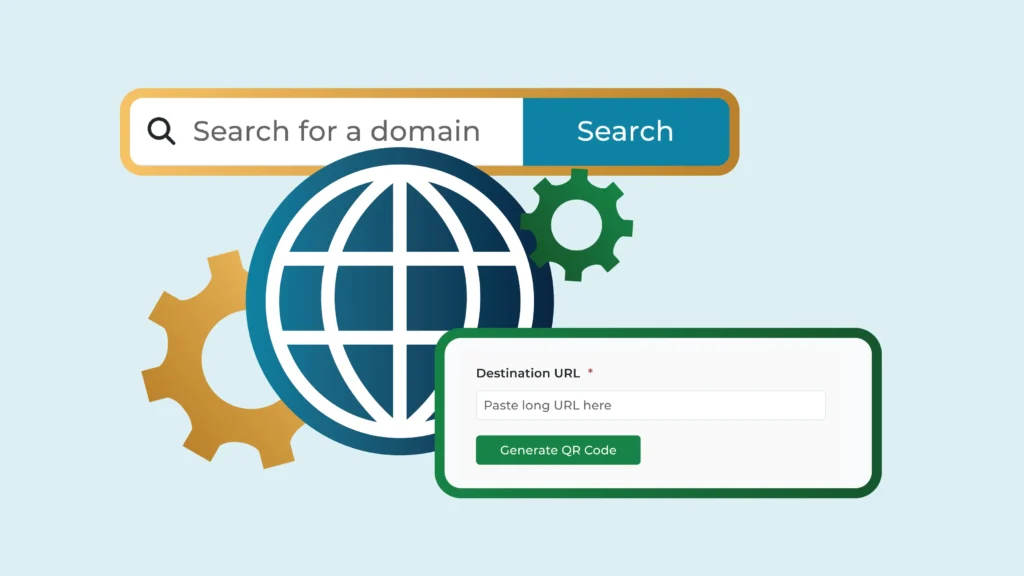
2. Check the Domain’s Availability
Now that you’ve pinpointed your perfect vanity URL domain, it’s time to see if it’s available. Here’s a simple step-by-step on how to check:
- Navigate to a domain registration site or URL shortener like TinyURL.
- Enter your selected URL into the search bar and hit the “Check” or “Search” button.
If you’re in luck and your domain is available, congrats! Go ahead and claim it. Now, if it’s already taken, don’t fret. Here are a few tips:
- Try variations on your chosen name, adding hyphens or different affixes.
- You could adopt other domain extensions, like .net, .biz, or .agency. But remember, .com is still the most recognized and trusted website.
- Consider purchasing the domain from its current owner. Services like GoDaddy’s Domain Broker Service can assist with this process.
Your vanity URL should be memorable and embody your brand, so take your time in choosing the right one!
3. Register or Claim Your Vanity URL Domain
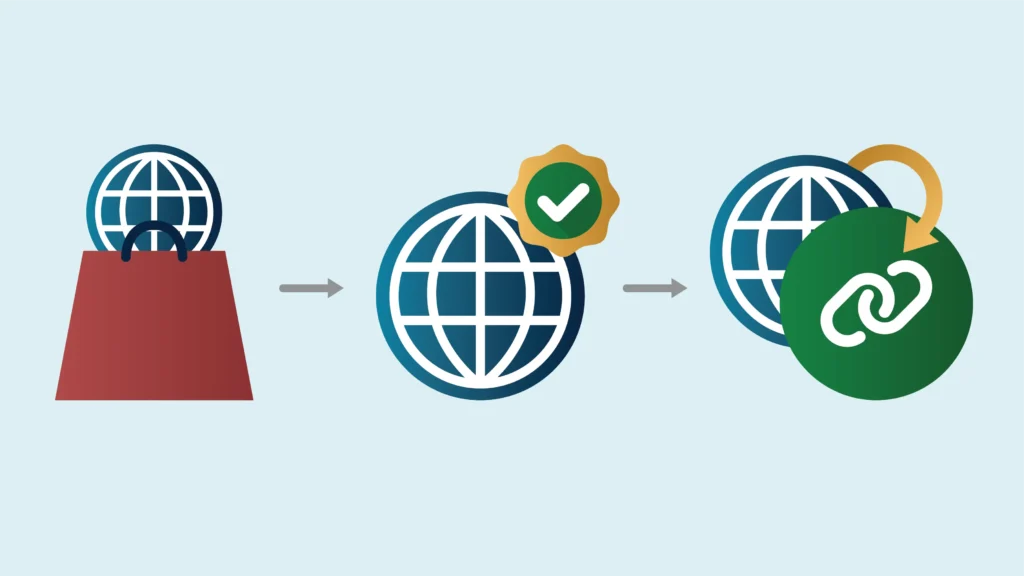
Obtaining your desired vanity URL domain involves a couple of key steps. This process might vary slightly depending on the specific platform you’re using, but here’s a general guideline to get you started:
- Domain Purchase: If you haven’t yet secured a domain, you’ll need to do so first. Numerous websites, such as GoDaddy and Namecheap provide this service. Try to choose a domain that aligns with your brand for maximum impact.
- Verification: Once you’ve purchased a domain or claimed your vanity URL on a shortening platform, you’ll usually have to verify your ownership. The platform will guide you through this process, usually involving an email confirmation link or DNS entry.
- Platform-Specific Claiming: If you’re using a URL shortening service like TinyURL, you’ll start by logging in to your account. From there, you can navigate to the creation section and input your long URL, then customize it with your chosen vanity slug.
Once that is settled, you’re on your way to having a snappier, more memorable web address!
4. Configure Your Vanity URL’s Default Behavior
Now that you’ve claimed your vanity URL domain, it’s time to configure it so it redirects to your desired web page. Here’s a breakdown of how to do it:
- Within your dashboard, find your newly created vanity URL. Next to it, there should be an ‘Edit’ or ‘Configure’ option.
- Click on this option, and you’ll see a field where you can enter the URL of the website to which your vanity URL is redirected. This is typically known as the ‘Destination URL’.
- Enter the desired URL and click ‘Save’ or ‘Update’. That’s it! Your vanity URL is now configured to redirect visitors to the correct web page.
5. Testing and Troubleshooting
Even after your vanity URL is up and running, it’s crucial to perform thorough testing. Verify the URL leads to the exact destination page you intended, ensuring your audience will always land exactly where you want them to be.
Look for the following potential issues during the testing phase.
- Always check your URL consistently to avoid broken links. If your audience encounters an error when accessing your page, your credibility might take a hit.
- Ensure your redirect works flawlessly. A link that doesn’t smoothly redirect to the intended page can frustrate users. If you find such issues, update the redirect endpoint in your URL shortener or contact their support.
- Test your vanity URL on different devices and networks. If your site isn’t loading quickly or correctly, consider optimizing or troubleshooting your landing page performance.
Make sure any tracking or URL parameters are functioning correctly. Failure to track data can lead to lost insights.
Creating a Vanity URL With TinyURL
Are you ready to upgrade your brand’s online presence with a vanity URL? Using the user-friendly platform of TinyURL, you can turn your regular long URLs into snappier and more memorable vanity URLs.
Step 1: Sign Up for a TinyURL Account
- Navigate to the TinyURL website (https://tinyurl.com/).
- You can sign up for an account by clicking on the “Sign Up” button. Depending on the options provided, you can sign up using your email address or by connecting to a social media account.
- Subscribe to a paid plan.
Step 2: Choose Your Custom Domain (Optional)
- Once logged in, access the dashboard and look for “Branded Domains.”
- If you already own a domain you’d like to use, you can add it to your TinyURL account. If not, TinyURL offers the option to purchase a domain directly through their platform.
- Follow the prompts to verify ownership of your domain if you’re adding an existing one.
Step 3: Create Your Vanity URL
- Navigate to the link creation section of your TinyURL dashboard.
- In the field provided, enter the long URL you want to shorten and customize as your vanity URL.
- Look for the option to customize your slug (the part of the URL that comes after the domain name). This is where you create the “vanity” part of your URL. Enter your desired custom slug that reflects your branding or the specific campaign you’re promoting.
Step 4: Configure Advanced Options (Optional)
- TinyURL offers advanced options such as setting an expiration date for the customized URL, restricting link access, or tracking analytics.
- Configure these settings as needed to suit your campaign or branding strategy.
Step 5: Save and Test Your Vanity URL
- After customizing your URL and configuring any advanced options, click the button to create your vanity URL (the button might say “Create,” “Shorten,” or something similar).
- Once created, test your new vanity URL by clicking on it or copying and pasting it into your browser’s address bar to ensure it redirects to your intended destination properly.
Step 6: Deploy Your Vanity URL
- Now that your vanity URL is set up and tested, start using it in your marketing materials. This can include social media posts, digital ads, business cards, or any other promotional content.
- Monitor the performance of your vanity URL through the TinyURL dashboard if you’ve configured tracking options. This can provide insights into click-through rates, geographic location of clicks, and other valuable analytics.
TinyURL: The Only Tool You’ll Need For Custom Vanity URLs
Creating vanity URLs may seem technical, but with the right tools, it’s incredibly simple. TinyURL is the perfect companion to streamline this process. Here’s why:
- Customization Made Easy: Easily create short, branded links with relevant keywords to boost your professional presentation and build trust.
- Tracking That Empowers You: Monitor how your vanity URLs perform to see which campaigns or links generate the most interest.
- Accessibility: TinyURL offers a free plan and simple interface, making it an accessible solution for anyone to implement.
Ready to upgrade your links and strengthen your online presence? Set yourself up with a TinyURL plan and start creating effective vanity URLs.