When you set the image frame mode on, a frame will be added around the product image, changing it from square to a
Pinterest-recommended aspect ratio. It only works on Pinterest so the other sharing buttons are hidden as a reminder.
To ensure variety for your framed product pins, the following applies:
- The color of the frame background is set to the average color of the product image, so it looks good with it
- The text at the top and bottom is chosen at random from a predefined set
- The designer store is included in the text at the bottom
- The font used for the text is chosen at random from a pre-defined list
If you switch off the image frame mode, then the normal square image of the products will be used once more and the Facebook
and Twitter buttons will become available again.
When you set the image frame mode on, you can choose to use your own image frame instead of the automatically generated ones.
To use your own:
- put in a link to your image frame in the box revealed when you check this option
- it has to be a png image, 600px wide X 900px tall
- it has to be hosted somewhere that's publicly available while you're pinning here (imgbb.com is a good place to use)
- by default the product image will be placed in the middle of your image frame - choose your preference with the radio buttons you'll see
- if you switch off the option to use your own image frame, you'll go back to using automatically generated image frames again
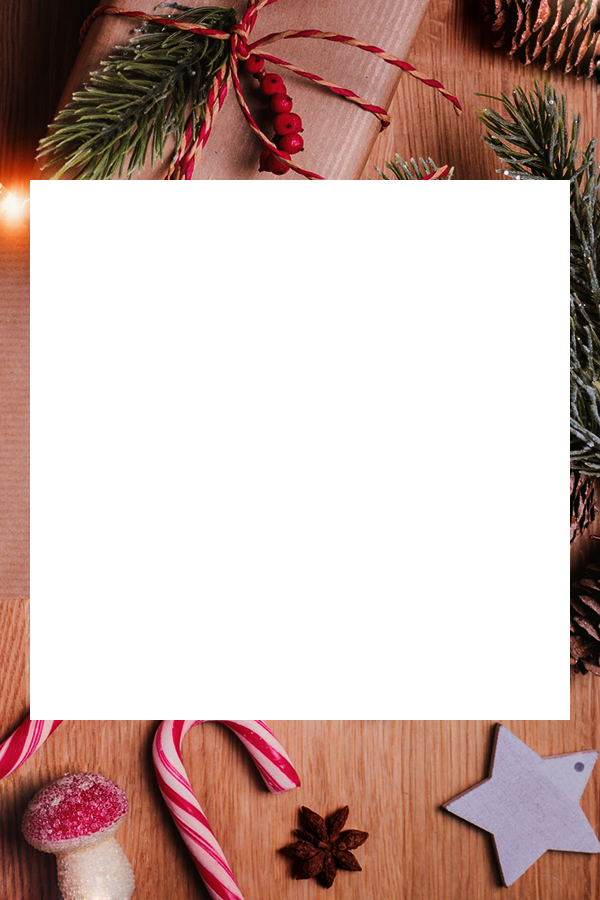
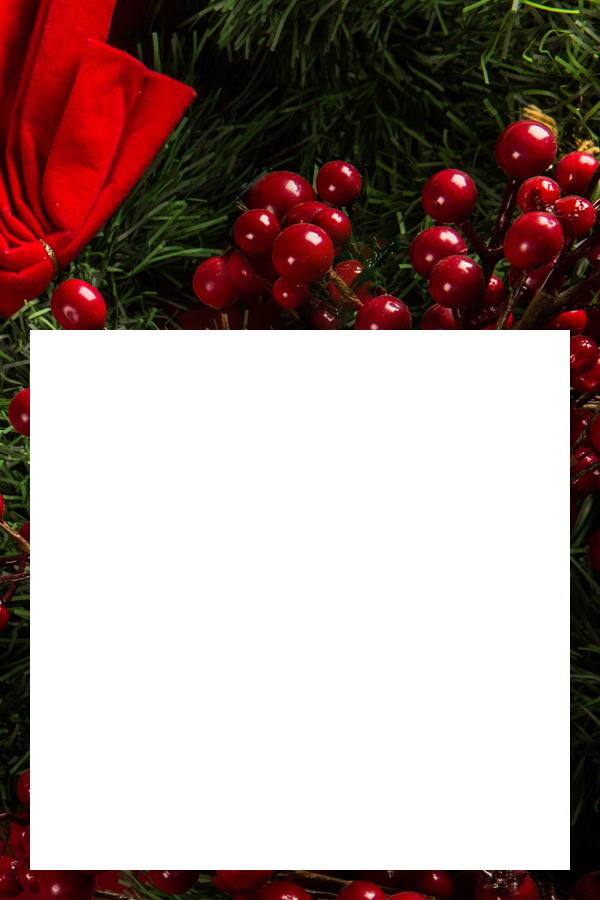
More about making your own image frames:
- they must be 600px wide and ideally 900px tall. That's because the product image is sized to work with that width
and Pinterest recommends a proportion of 6x9
- the product image is always sized at 540 x 540px so will leave a 30px margin on each side
- to give you maximum flexibility on the frames you design, the product image is placed on a layer underneath your image
frame, so you'll need to make a transparent hole to let the product image show through.
- using this approach means you can get creative and let some parts of your image frame design overlap the area reserved for the product image
- make sure you don't get carried away - don't let your overlaps obscure important parts of a product image!
- by default the product image will be placed in the middle of your image frame - choose your placement preference with the radio buttons you'll see
- if you place the image at the bottom, it will leave a 30px bottom margin, same for the top margin when you place it there
- For a 600px X 900px image frame, the product image's top left corner will be 30px in from the left side and for the three placement options:
- Top: 30px down from the top
- Middle: 900/2 - 540/2 => 180px down from the top
- Bottom: 900 - 540 - 30px => 330px down from the top
if you choose a taller image than 900px, replace each 900 above with your image frame vertical dimension (you must stick with 600px wide, though)
- So just knock out a transparent hole 540X540px with its top left corner placed at the coordinates above, depending on whether you want the product image to be placed
at the top, middle or bottom of your image frame.
- You can drag any of these 600X900px images to your desktop to give you a starting point for your own image frames. The transparent holes are perfectly sized and positioned

If you switch off the image frame mode, then the normal square image of the products will be used once more and the Facebook
and Twitter buttons will become available again.

