Windows 11 is a pretty powerful operating system for productivity. And its ability to snap windows in various configurations is incredibly helpful as it makes multitasking a breeze and managing multiple applications much more efficient.
But Windows 11's split screen features can't help you if you don't know how to use them. In this guide, we'll show you how to use the operating system's split screen tools, including Snap Layouts and Snap Assist. And we'll even go over how to disable Windows 11's split screen features, if you decide later you'd rather not use them.
Here's how to split your screen on Windows 11.
Using Snap Layouts
Snap Layouts are a new way to initiate Snap Assist and they're even more powerful than the old methods. They allow you to easily pop windows into a variety of useful layouts that make displaying and working with your windows easier than ever before.
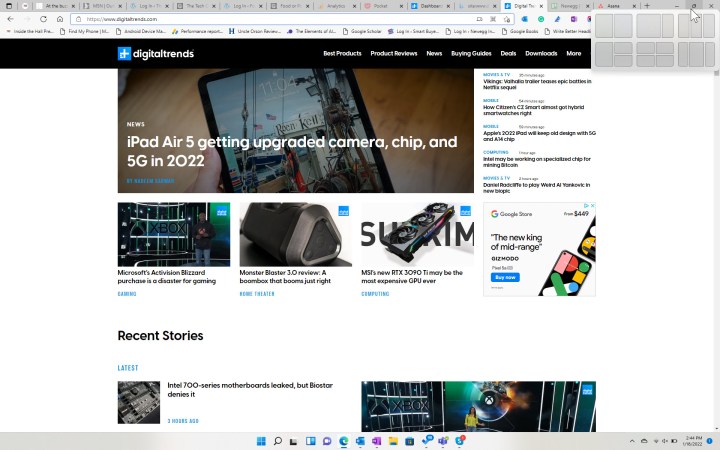
Step 1: Simply hold your mouse over a window's Maximize button. A grid will appear, giving you a variety of options for arranging up to four windows.
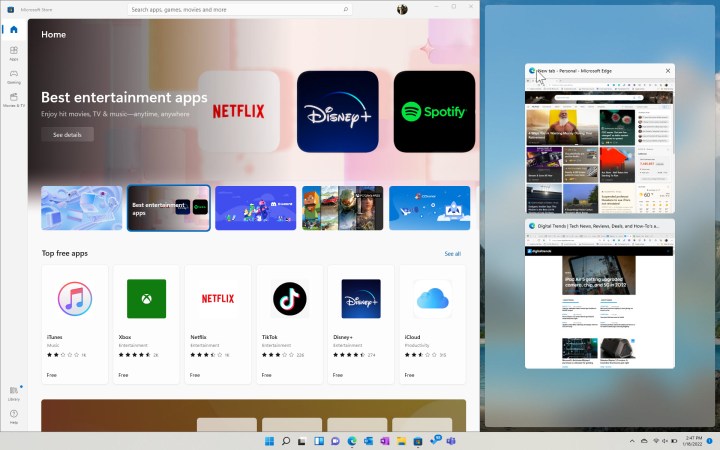
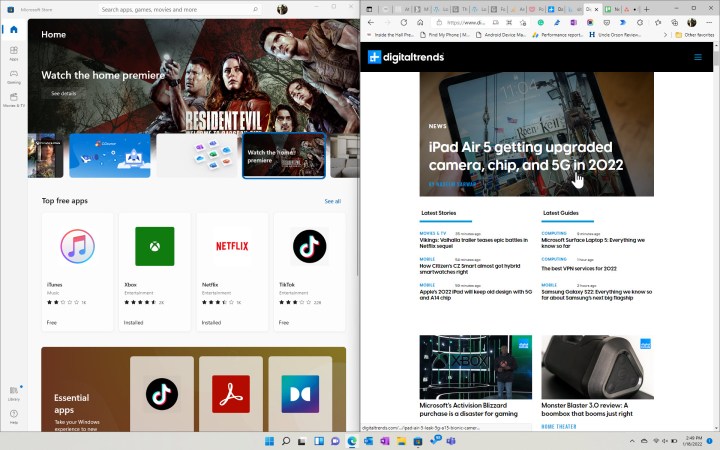
Step 2: Select one of the options and the display will split and display your other available windows. In this case, we selected the two-window layout with one side wider than the other.
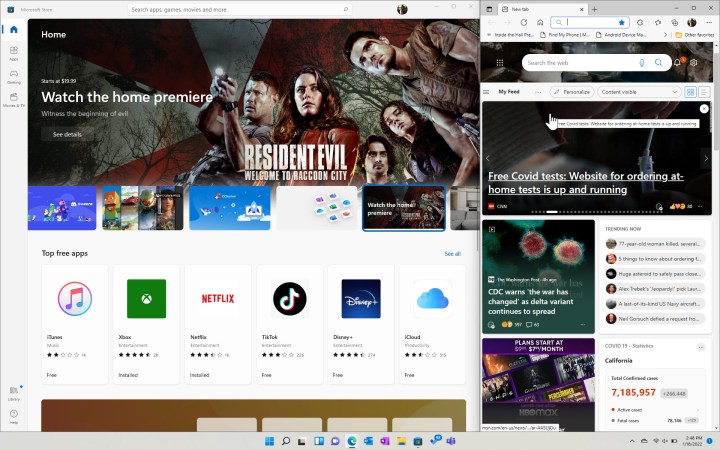
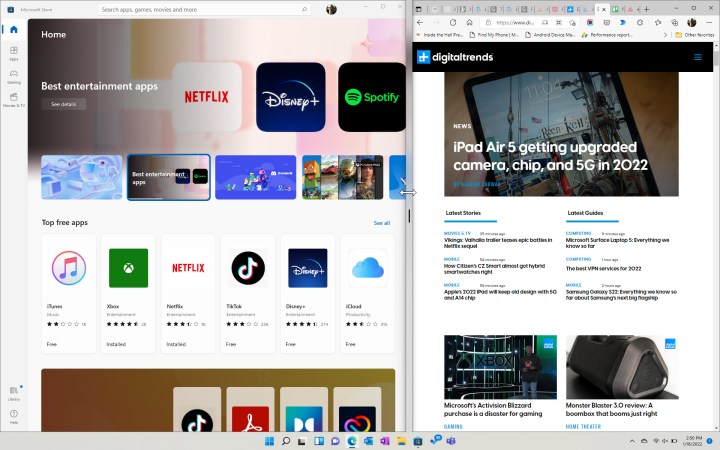
Step 3: Once you've selected the other window(s) that you want to split, your screen will show the windows in your chosen configuration.
Manually using Snap Assist
Windows 10's methods for accessing Snap Assist have carried over to Windows 11. There are two ways to manually initiate Snap Assist.
Step 1: You can simply drag a window to either side or use the Windows key along with the Right arrow or Left arrow key and you'll get the option to select another window.
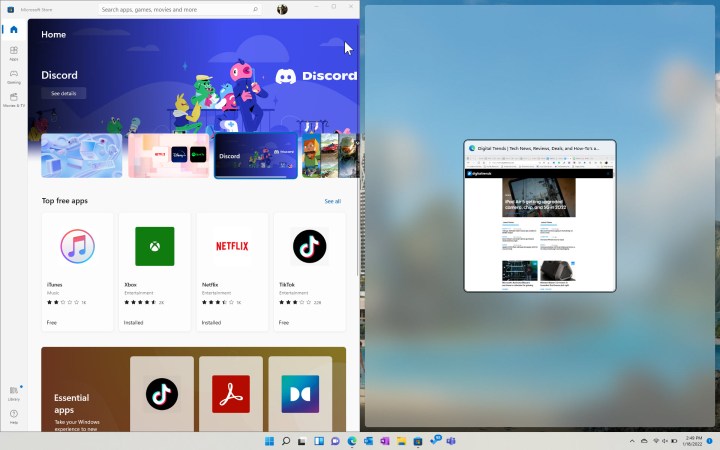
Step 2: Select the window you want to display, and your screen will orient itself accordingly.
Step 3: You can resize the windows by simply selecting the middle bar and dragging.
Step 4: Note that if you drag a window into one of the corners, you'll get the option to place up to four windows.

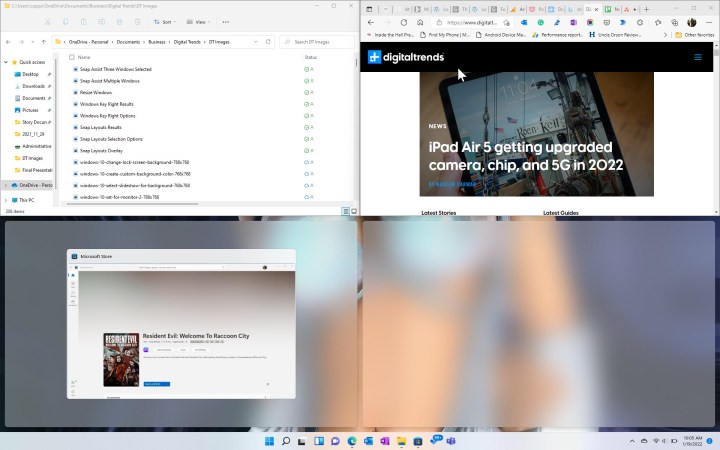
Step 5: Once you've selected your second window, you'll be presented with the option to select the third. The same goes for selecting a fourth window if you have that many to place.
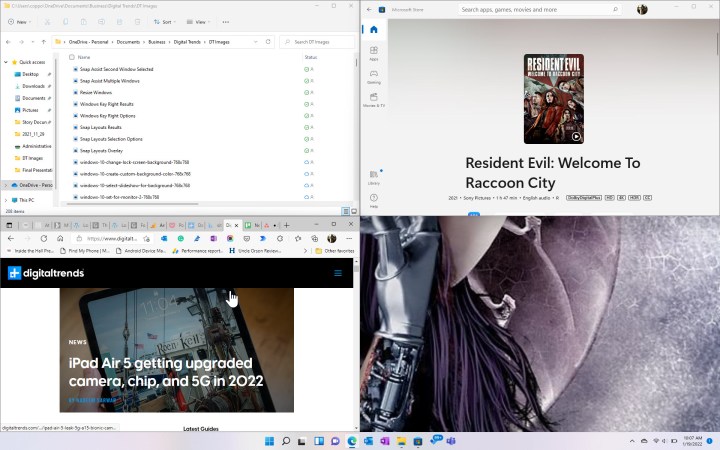
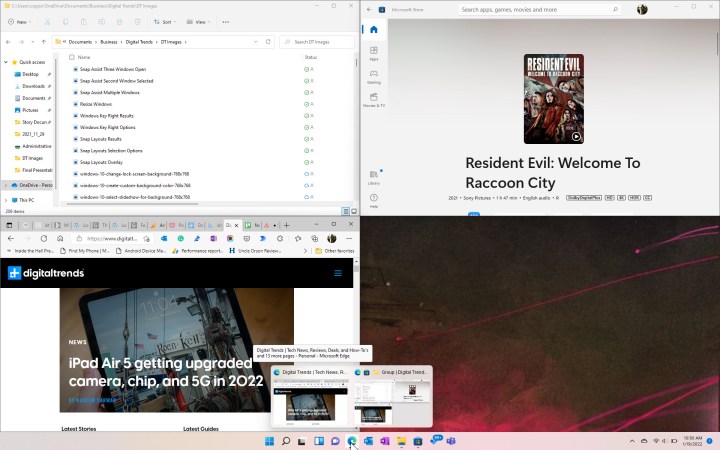
Step 6: Here we've selected three windows to display.
Step 7: When you have windows arranged via Snap Assist, you can choose whether to open a single window or a group. Just hover over a snapped window's icon on the Taskbar and you'll get a choice to open the individual window or the group it belongs to.
Turning Snap Assist on and off
If Snap Assist is causing you problems, then it's easy enough to turn it off.
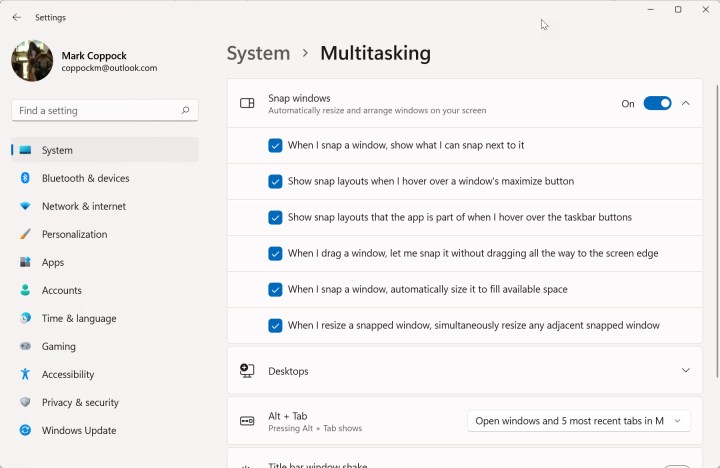
Open the Settings app and go to System > Multitasking. Open the Snap windows option and you'll see a toggle to switch it on or off. You can also select various options to customize Snap Assist to your needs.
What is the keyboard shortcut to split screen in Windows 11?
The main shortcut for splitting a screen on a Windows 11 laptop is: Windows key + [any of the up, left, or right arrow keys]. The arrow key you pick determines the position of your window on your screen:
- Up arrow: Moves the active window so that it only fills the top half of your screen
- Left arrow: Moves the active window so it only takes up the left side of your screen
- Right arrow: Moves the active window so it only fills in the right side of your screen
You can also use the following shortcut to open Snap Layouts: Windows key + Z.
Editors' Recommendations
- How to build a PC from scratch: A beginner’s guide
- How to insert a signature in Apple Pages
- How to optimize Windows 11 and Windows 10 for gaming
- How to factory reset Windows 10 or Windows 11
- How to deactivate your Instagram account (or delete it)