Student's document camera for 25¢
Michael Peshkin, Northwestern University, 2020-08-18 tinyurl.com/mydoccam2
Who needs a document camera? Not only teachers! Every student who wants to show & discuss their hand-drawn work with their teacher over zoom, needs a doc cam.
You can make a doc cam using the webcam built into a laptop computer, plus a small mirror, plus software you already have. Small plastic mirrors cost about 25¢. Or, you can even use the small glass mirror in a makeup compact.
Prefer a video? Here it is, including assembly details.
- News story about this.
- Northwestern University students can request that one be sent to them. (To access the form, first log in with your u.northwestern account)
- Laser cutter files if you want to cut your own mirrors.
The student needs only a 35mm x 70mm rectangle of mirrored acrylic, and ~13 inches of ~22AWG bell wire (solid not stranded wire). The TA or instructor can use a mouse or trackpad, or even better a digitizer tablet.
Build it from a small plastic mirror
Peel the protective film off the mirror! It should be really shiny. If you don't peel the film off, all your images will be blurry. A bit of tape can help you get hold of the film. Put the tape firmly over a corner of the mirror, stuck to the film, and then yank it off
These photos show acrylic with two mirrored sides. Some acrylic has a mirror side and a paint side. Mirrored surfaces often (not always) have a protective film.

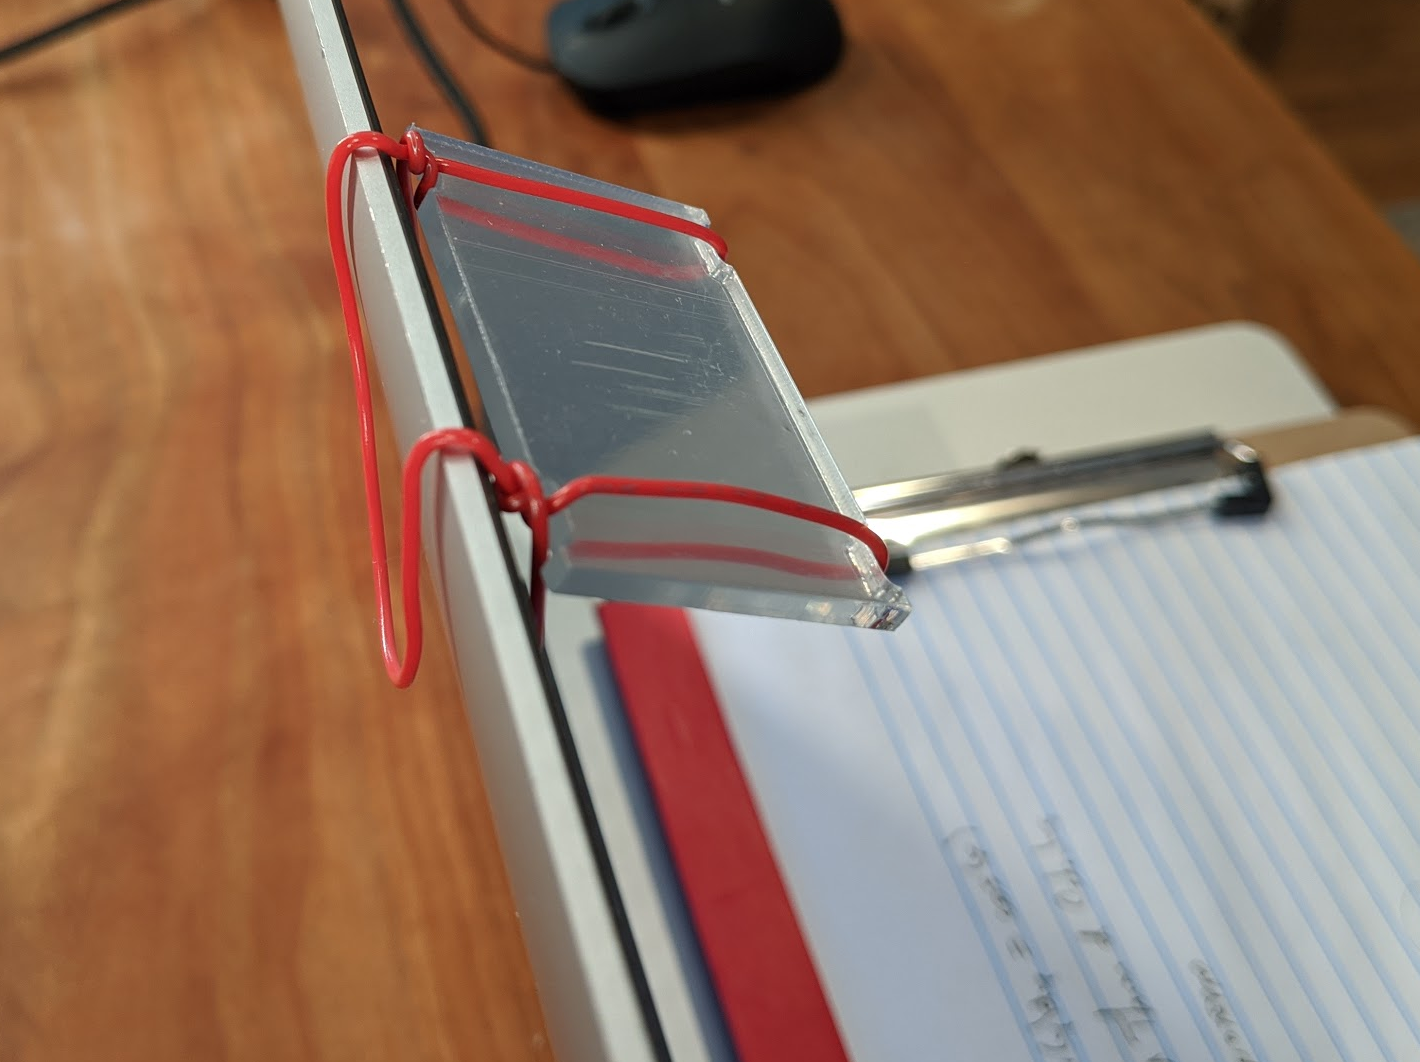
Take about a foot of bell wire and wrap it around the mirror as shown below, leaving tails at the twists. Our mirrored acrylic was laser cut, so it was easy to include divots to keep the wire from slipping off the ends. A bit of tape would have worked for that purpose too.

Fit the mirror to the top edge of your laptop screen with the mirror side down. Use the wire tails to support the mirror on the front (display) side of your laptop, and the loop to support the assembly on the rear of the laptop cover.
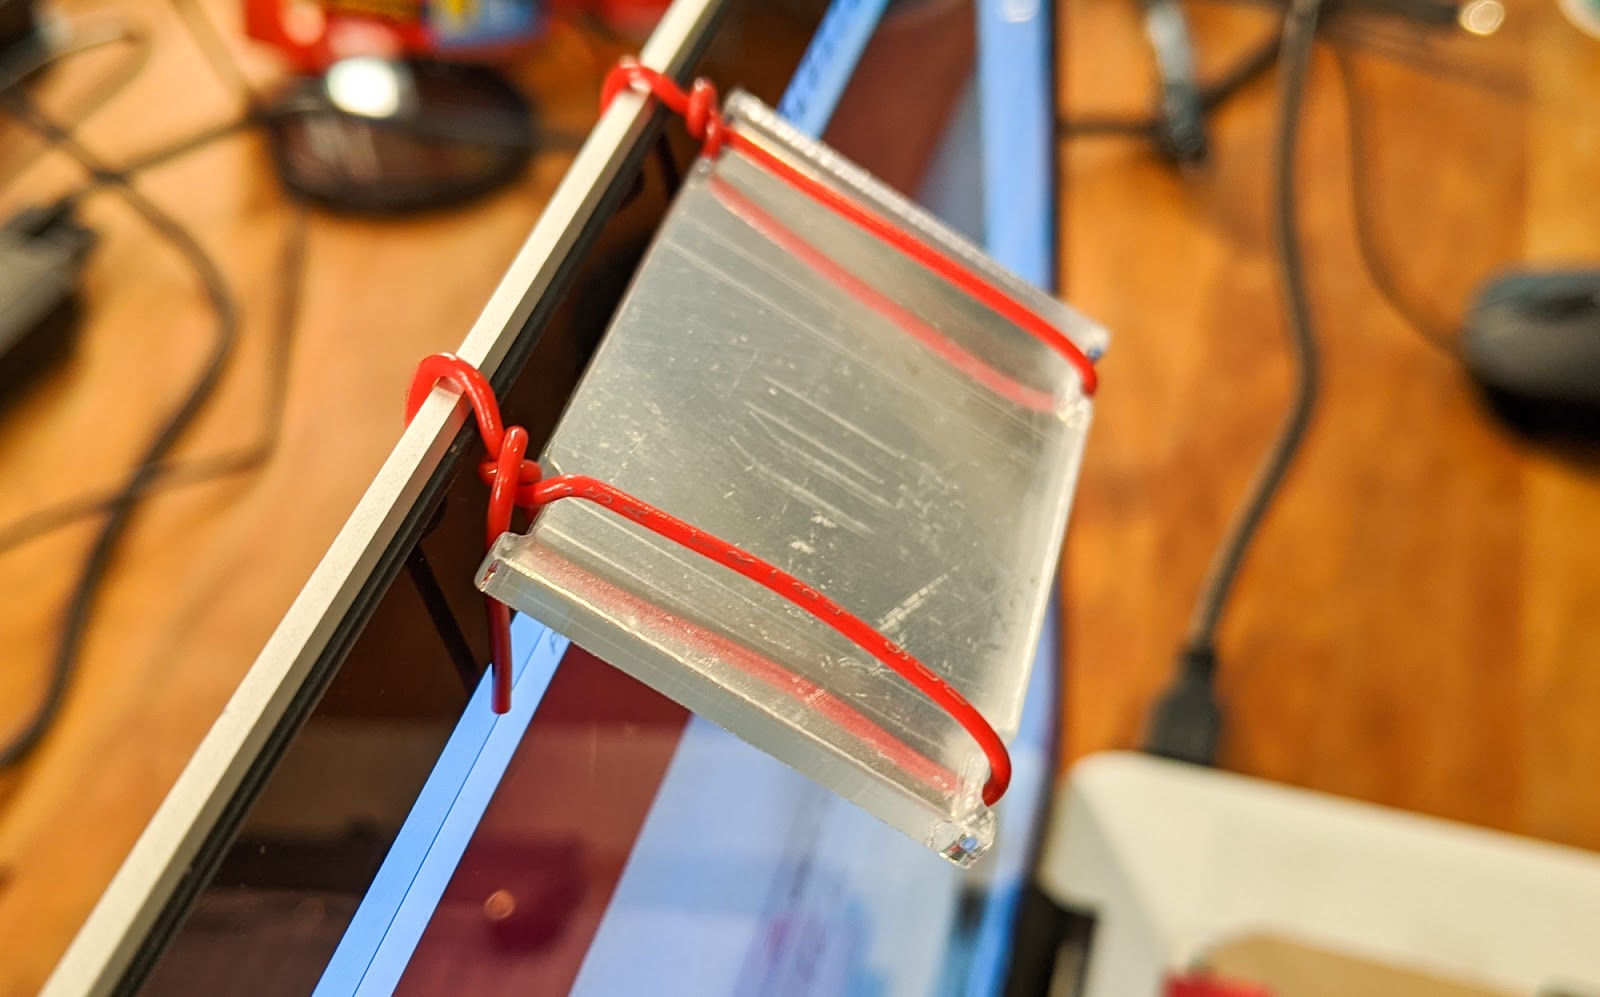
Mirrored side down! These photos show acrylic with two mirrored sides, but some acrylic has a mirrored side and a paint side.
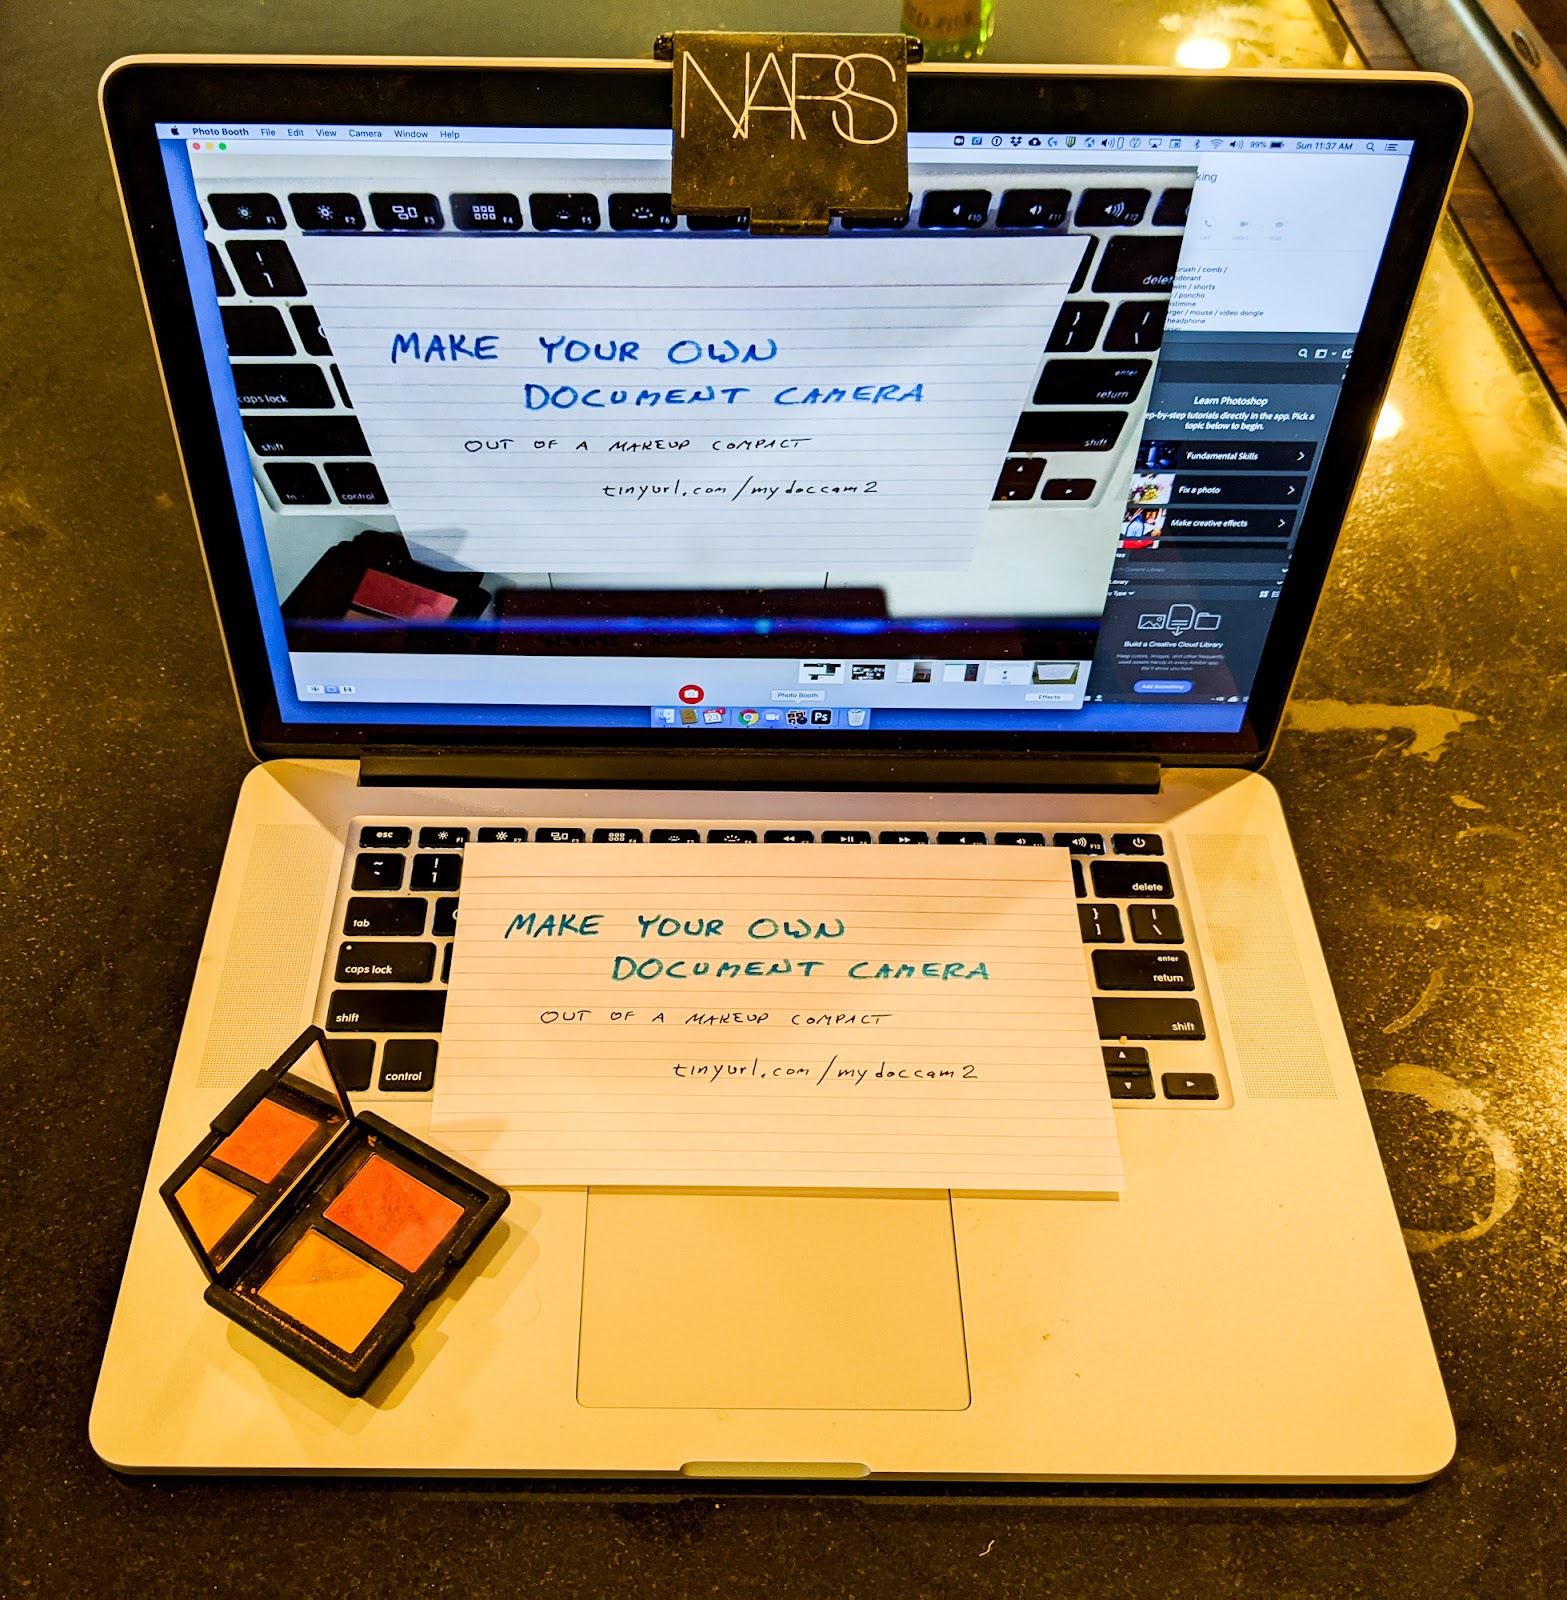
Build it from a makeup compact
Place the makeup compact over the edge of the laptop screen and adjust its position and angle until the laptop camera sees the whole keyboard area. Then use some tape on the back of the laptop cover to hold the makeup compact in place. It's best if the mirror is 1.5 inches deep or more. Some are too small and you can't see as much of your keyboard as you might like. Round mirrors seem to work too.
Viewing software
Run a camera-viewer app such as Photobooth (mac) or Camera (windows or chromebook). Adjust the mounting of the mirror to view the whole keyboard area of your laptop. It may take a little bending and adjusting, the first time.
It's helpful if the screen on the laptop is elevated to 90 degrees, perpendicular to the keyboard. I like to put a clipboard over the keyboard for stability. (...which might block the laptop's cooling fan exhaust, if done incautiously.)
You have to try this! – there's something quite special about a doc cam that shows your doc image right over the doc itself, in this folded magic-mirror way.
Do you want high resolution or high frame rate?
(You don't have to read this) Your participant video feed, AND your screenshared photobooth image, are both images of whatever is on your keyboard. Due to the mirror, the participant video feed is left-right reversed when seen by your audience (zoom shows it differently for you). It is high framerate, typically 25fps, good for smooth video. However its resolution is only up to 640x480. So this is useful for showing things that move.
Mac Photobooth (or MS Camera) apply a left-right reversal to that same image. For written material this is needed. The resolution transmitted by zoom screenshare is the full resolution of the shared window, so it can be HD quality or more. But the framerate is low, sometimes as low as 1-3fps. So this is useful for showing hand-writing or documents or items that don't move. Or, when you start screenshare you can select "optimize for video" which will give you moderately high framerate and low resolution. It's not quite as smooth as the participant video feed but has the benefit of proper left-right reversal.
You can transmit both the high speed / low res / reversed participant video feed, and the low speed / high res / left-right corrected screenshared window, at the same time, if you wish to do so. Or turn one of them off.
Annotation & conversation
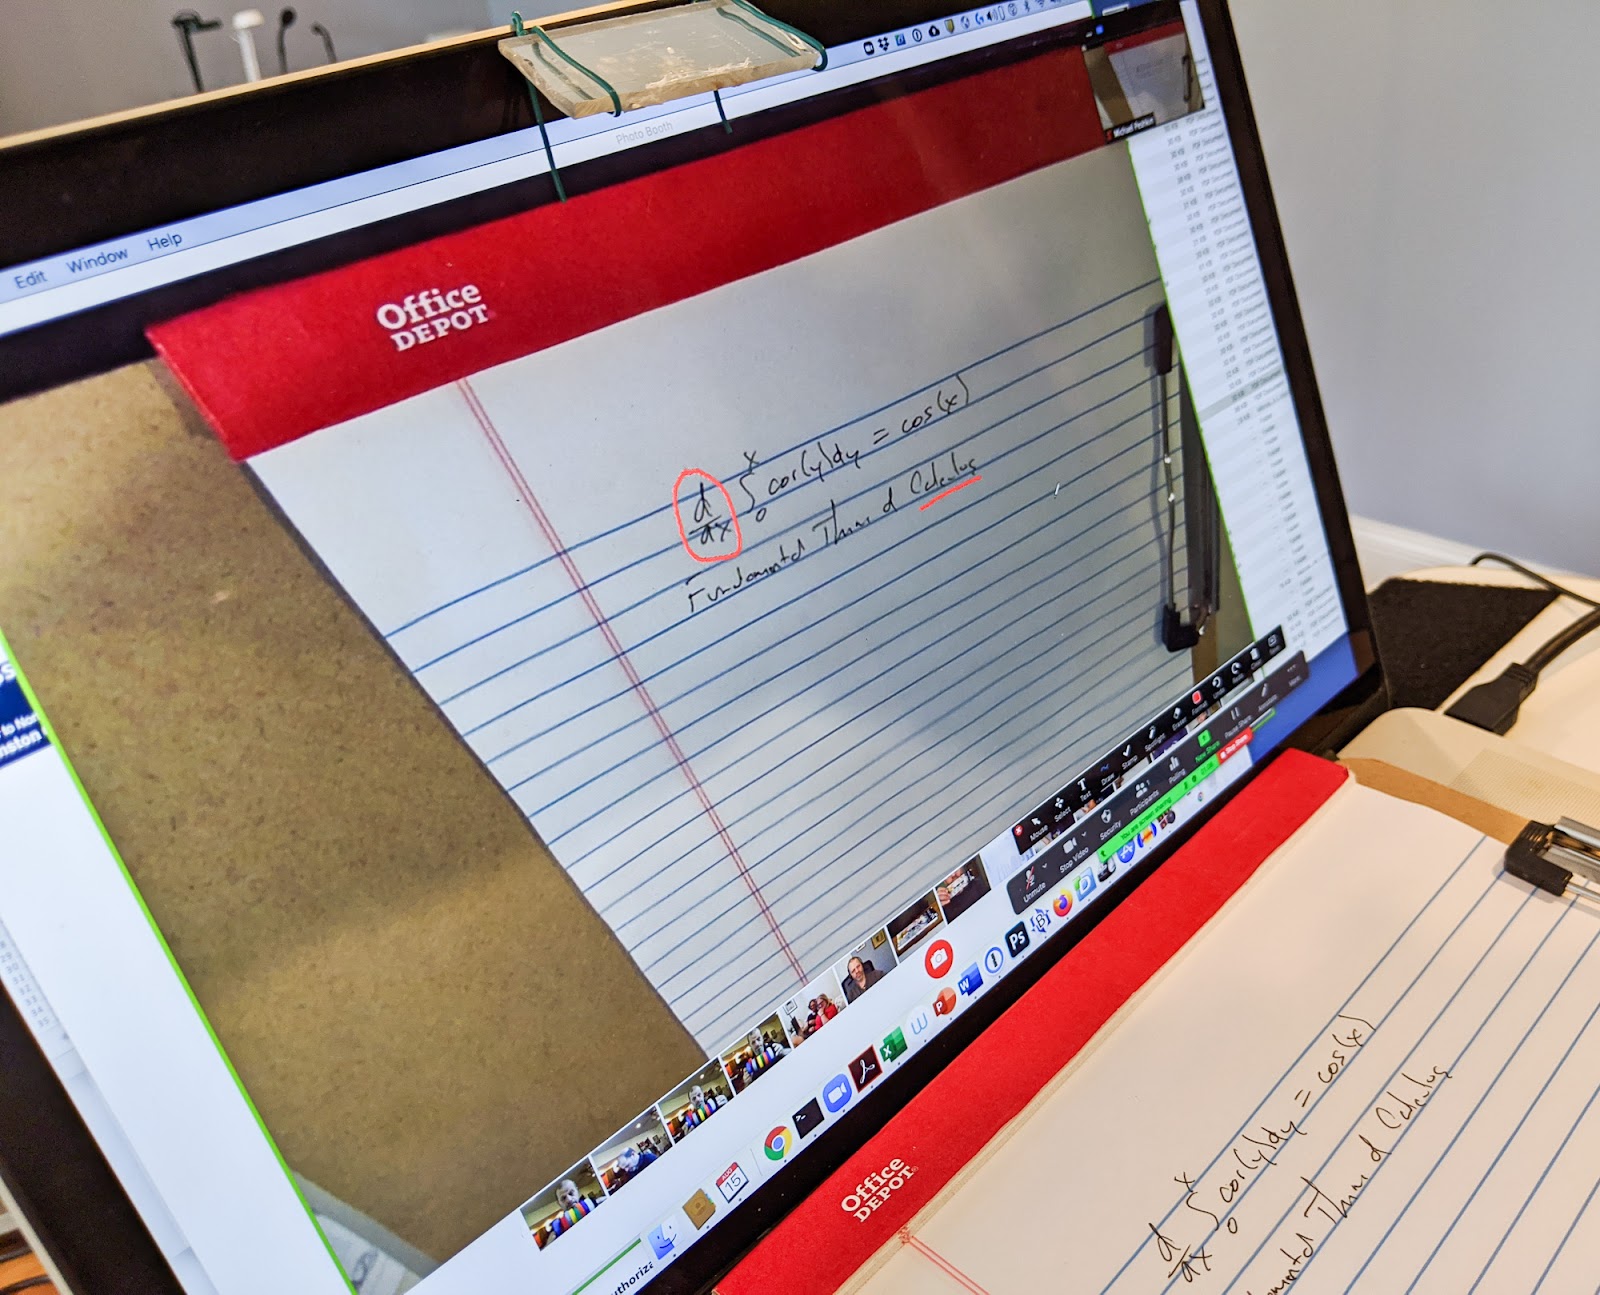
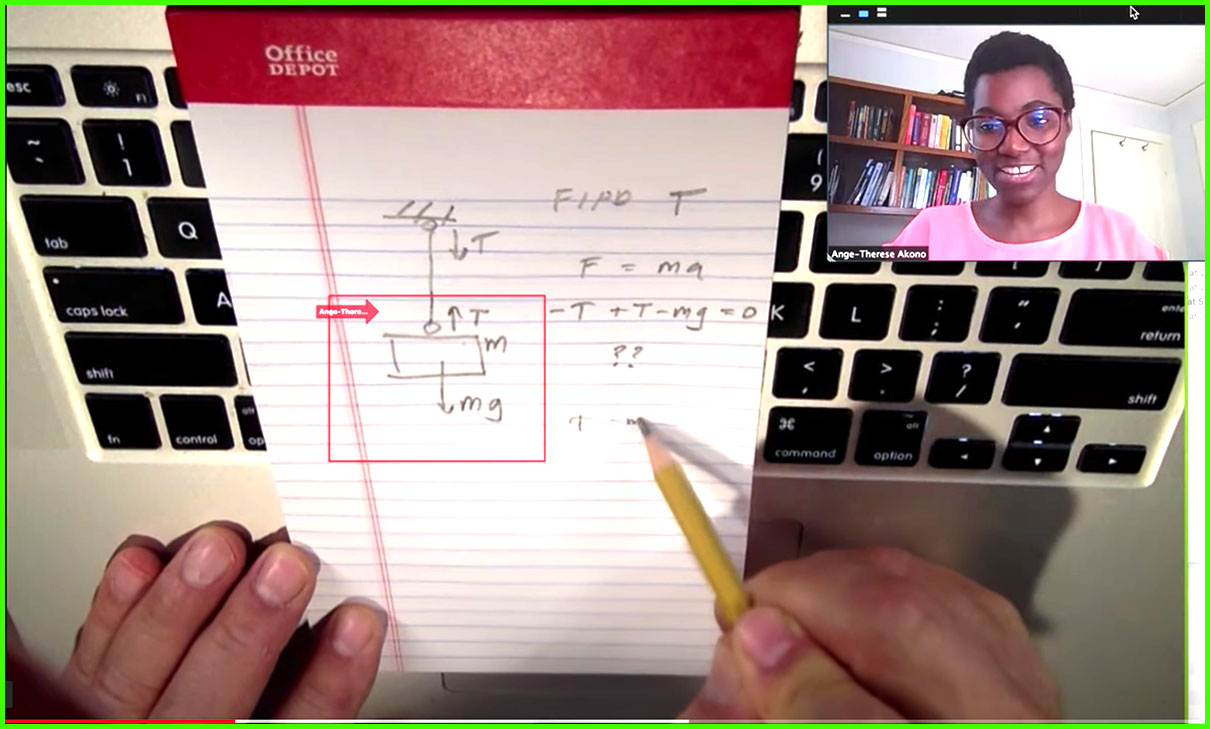
In zoom, the student screenshares their camera-viewer app. Now, a remote instructor or TA can use zoom's annotation tools to draw on the image that the student sees on-screen, an image of their own sheet of paper. Above, the TA has circled d/dx and underlined Calculus, even though the student's actual paper shows no such markings. It feels very personal to have the remote instructor's notations showing up on your paper, as seen in the magic mirror.
The student has many ways of pointing, drawing, or gesturing to the instructor. They can use their fingers or a pen on the real paper. Or, on the image of their paper, they can point with their mouse cursor, which is visible to the instructor.
The instructor is more limited. The instructor's mouse cursor is not visible to the student. Using the Annotation toolbar, the instructor can draw with pen or highlighter on the image of the student's paper. These marks persist until cleared or erased. There is also a click-to-apply arrow (shown below) which persists only until it is clicked somewhere else. This is useful as a pointer: when you say Here, you click to show Where. There are also persistent stamps: checkmarks, X's, even gold stars and red hearts.
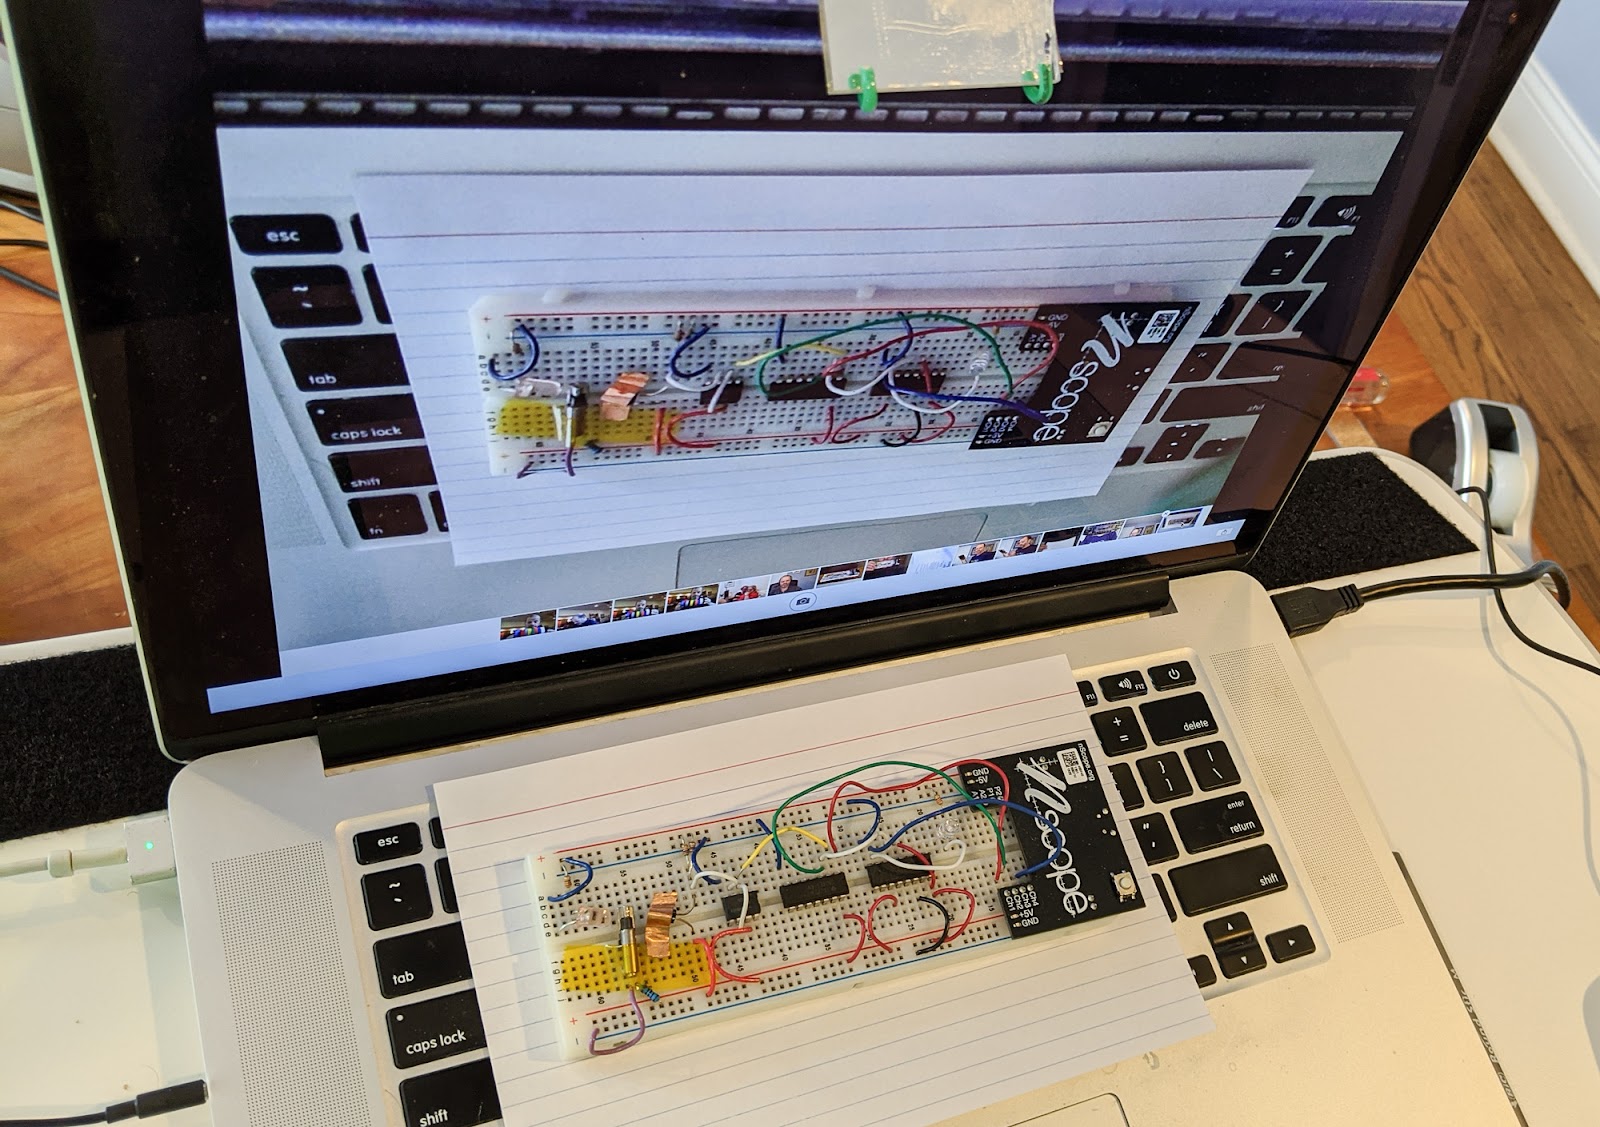
I'm planning to use this for circuit diagrams, and even for circuit boards.
URL of this doc tinyurl.com/mydoccam, or the pub version tinyurl.com/mydoccam2 |