

DTR
0
- Joined
- Jun 24, 2010
- Messages
- 5,684
- Points
- 113
1W Mohrenberg Apollo Kit
I am back with another great build. About a week ago Mohrenberg hit me up and said that he was going to be sending me one of his new kits for a review. I told him that I would be glad to do one and to send it on. Today I checked the mail and low and behold there was a nice little host kit waiting for me. I decided to get working on it right away since he was kind enough to donate the kit. Thanks Moh.
")
So here it is an Apollo 18650 host kit in black. This unit sports a head that can turn to focus the unit and a great look. It is a nice little package and is not to difficult to build. You can check out the thread in the BST for availibility of this host kit.
http://laserpointerforums.com/f39/fs-apollo-kit-56236.html#post793526
Also if you would like to see more of my reviews and tutorials please visit my compilation page.
http://laserpointerforums.com/f51/d...ting-compilation-thread-56450.html#post797151
*Host Images*
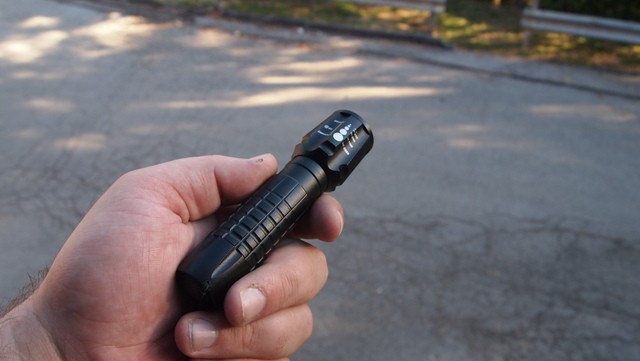
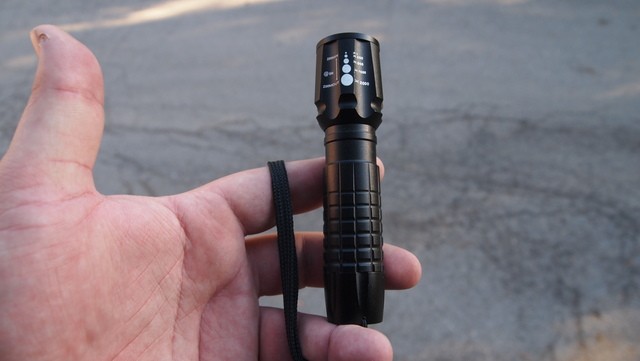
Here are some shots of the body of this host.
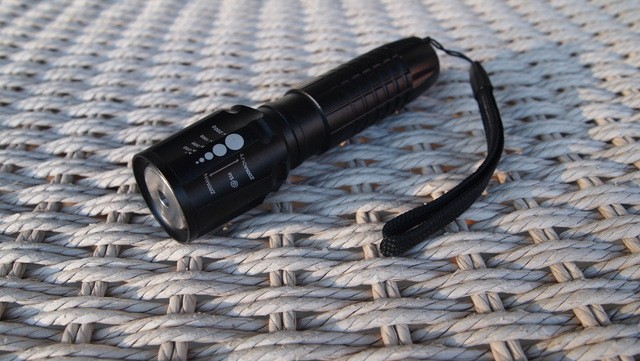
It is a pretty small unit for an 18650 host. Compact units are great. You can't just go everywhere with a Frankenstein laser in your pocket. Of course that has not stopped me from trying.

The handle has a great feel and the body has a sleek look.
The key feature on this unit is the adjustable focus head. You just spin the head to focus the laser! It provides a clean look and is very easy to focus. No more burnt fingers.
Since the lens is concealed in the head it has a very clean look to it.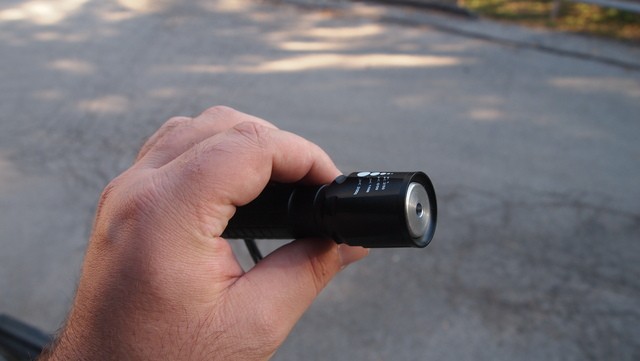
*Assembly Tutorial*
Now here is the fun part. Putting it all together.
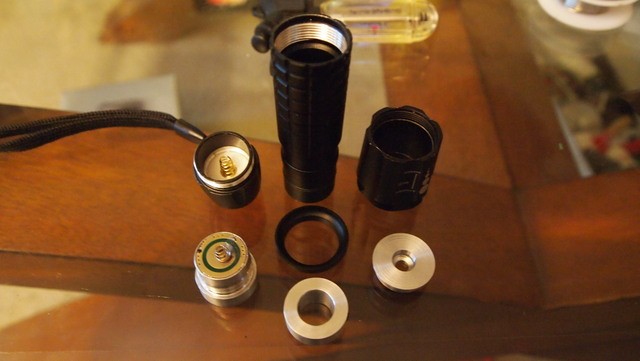
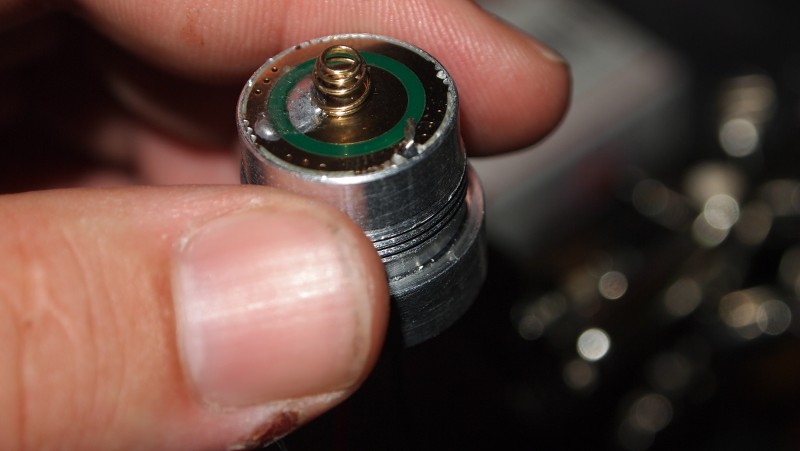
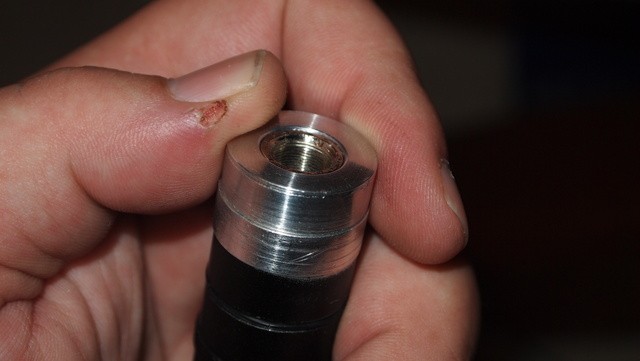
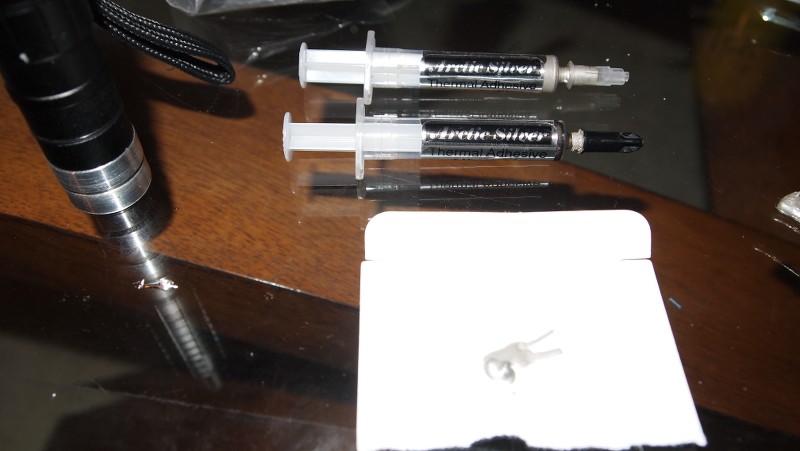
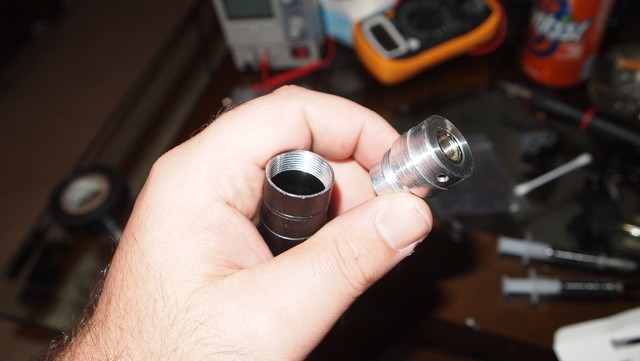
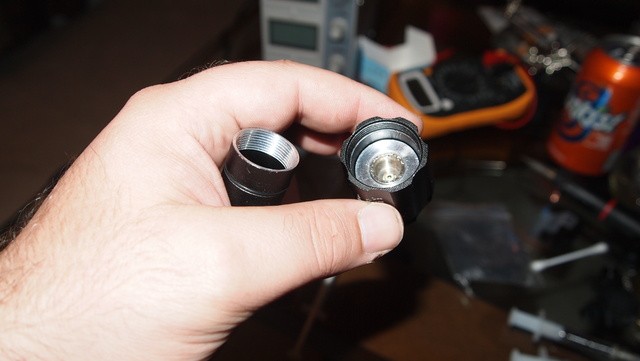
Here are the components to this build. It consists of the tailcap, host body, head, retainer ring for the focus adapter, focus adapter, heatsink, and the pill.
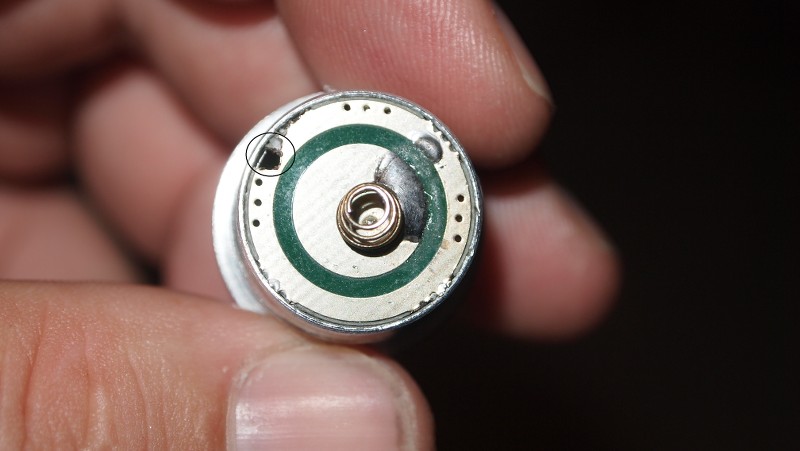
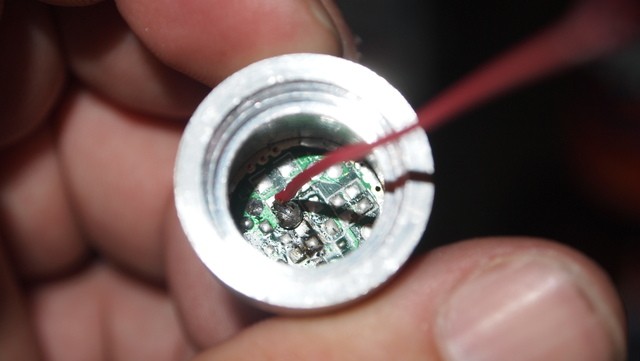
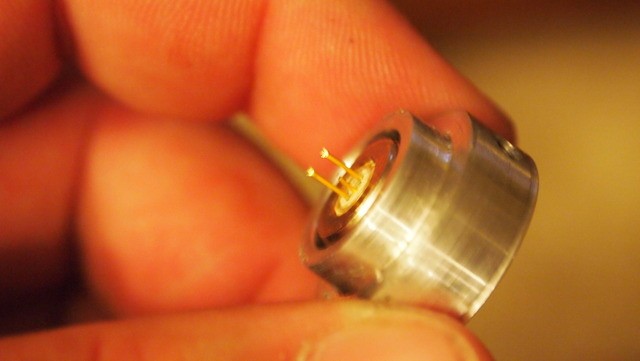
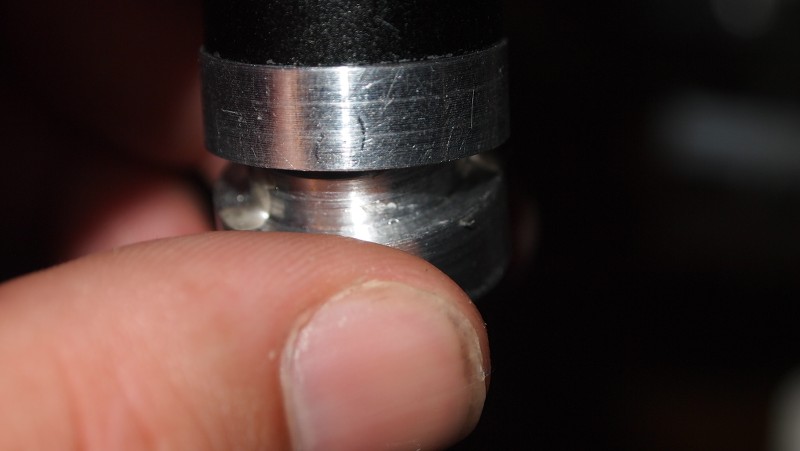
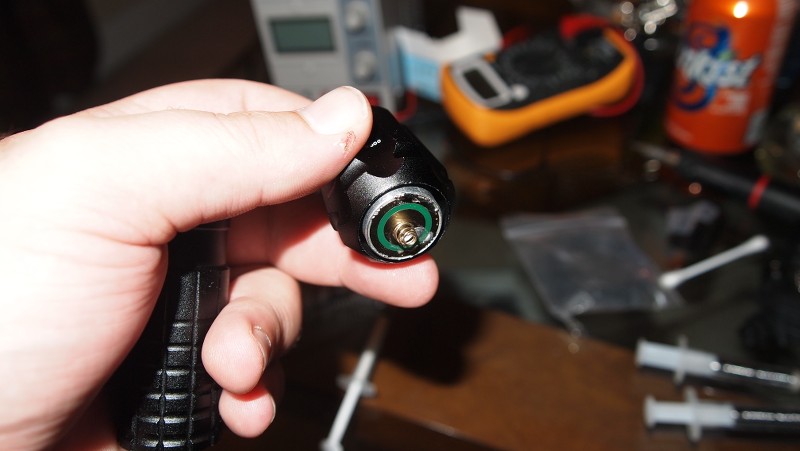
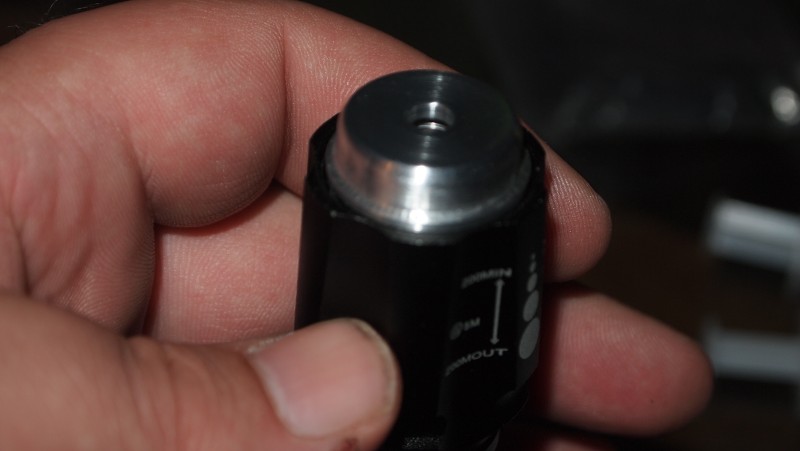
First thing we will need to do is prepare the pill with wires that will feed the power to the driver. The red circle is the positive contact point. The black circle is where we will put the negative wire through and solder it to the bottom side of the battery board.

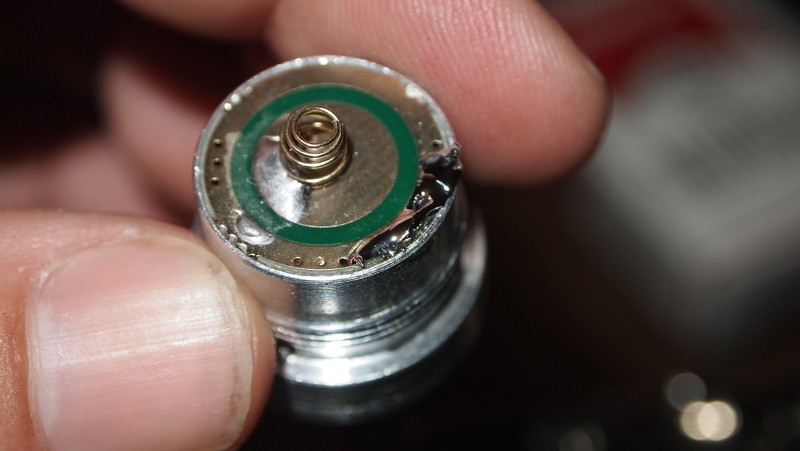
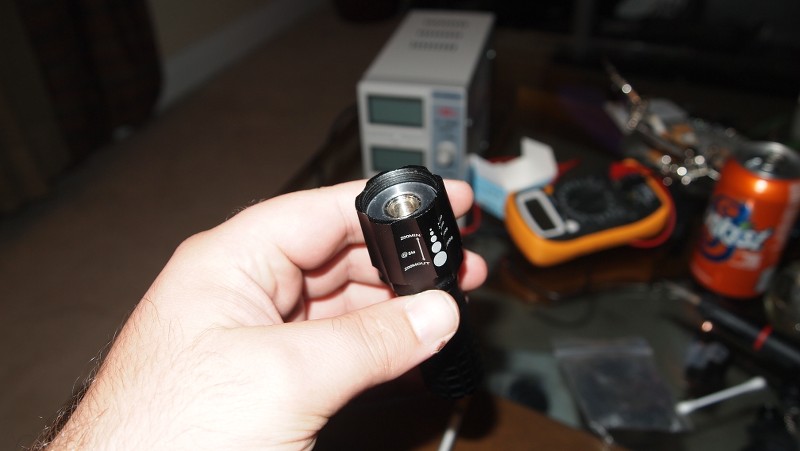
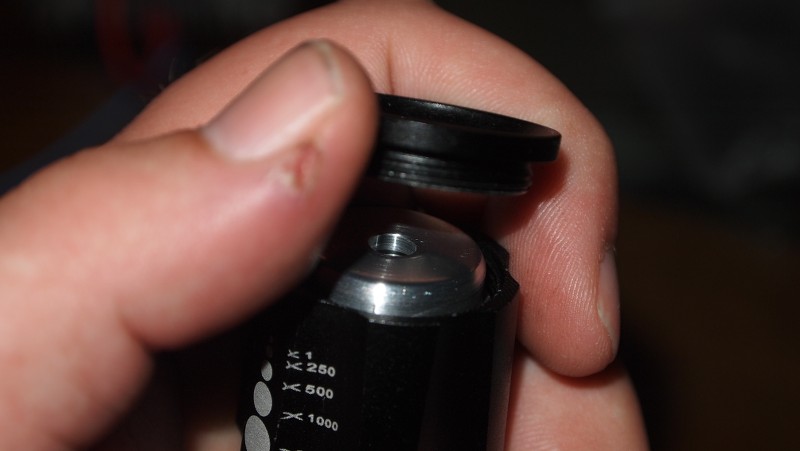
This is the back side of the pill that has the contact board for the battery. The negative wire will be fed through this hole and soldered to the outer ring.
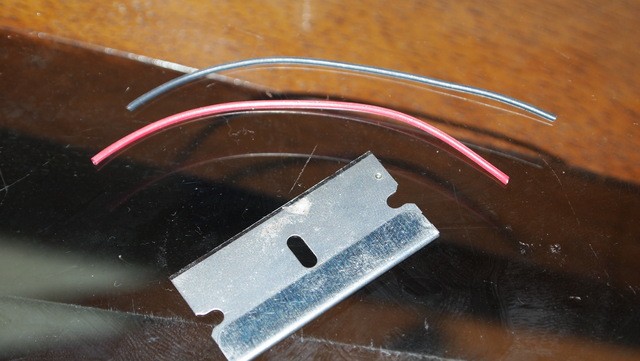
Get some wire. I use Flaminpryo wire because it is extremely flexible and burn resistant.
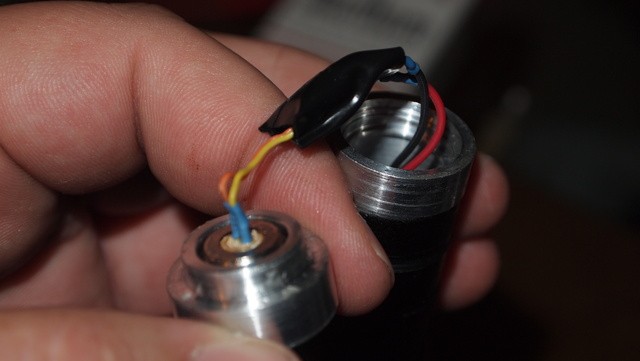
Solder the positive wire onto the contact point in the pill.
Next feed you negative wire through the hole like this and bend over so that it can be soldered in place to the outer ring of the board.
Then solder it in place. Try to not get to much solder that would cause a mound on the board.
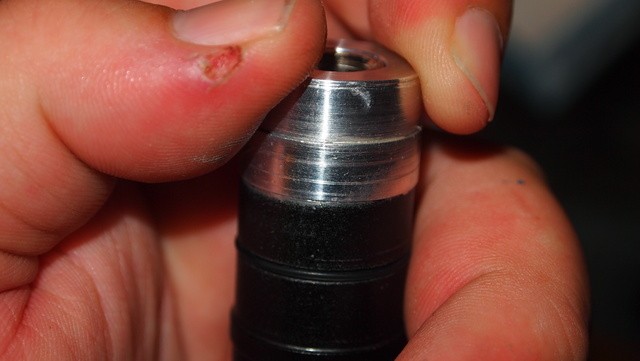
Now you have the wires in place the pill is ready. I put the pill back in the host for some testing.

Next you want to make sure that your wires are getting a good connection so throw in a battery and test on your DMM. Pull and tug on the wires a little and make sure that there are no weak connections.

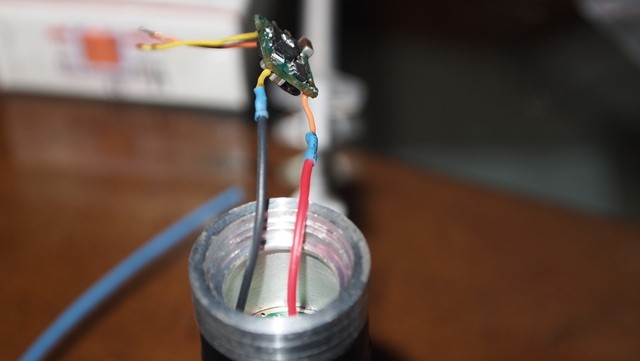
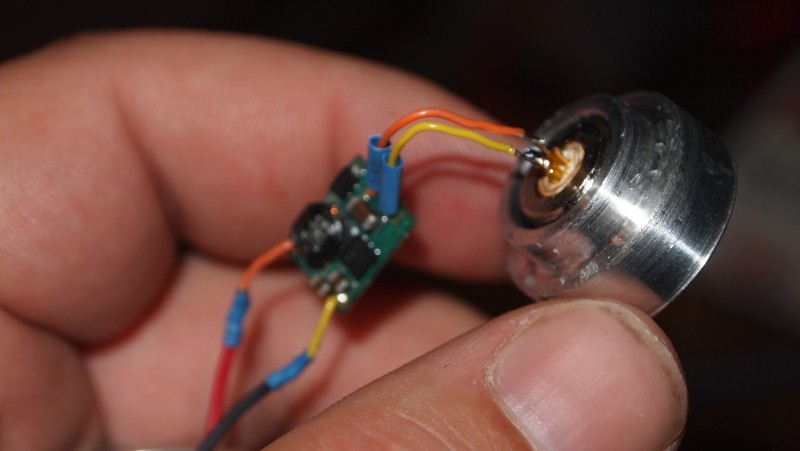
Now that our connections are made and tested we can solder a driver to the wires. I went with a microbost set to a conservative 750mA on this unit.
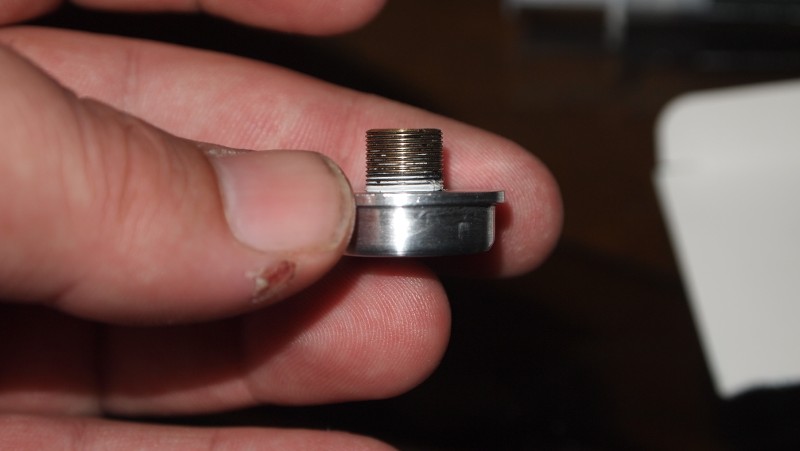
Now you need a diode pressed into a Aixiz module. Slide it in your heatsink and tighten the set screw down with your allen wrench.
Solder the leads from the driver to the diode.
Slide your shrink tubing over the pins and heat with your heat gun or butane torch lighter. I like to keep the shrink tubing as short as possible. This allows the wire to be more flexible near the solder joint.

Since the driver is set to a modest setting heat should not be a huge problem. Just wrap it in some electrical tape.
Put the driver and the wires in the pill and make sure the heatsink will go all the way down.
Now get some thermal adhesive and mix it up.
Put a small dab on one side.
Then another on the opposite side.

This will keep the heatsink from spinning when you focus the lens which would twist up the wires to the diode possibly killing the driver, diode or both. Don't use so much that you cant get it off if you need to open it back up. That is why I just used a dab on the each side.
Now just keep pressure on the pill/heatsink for at least 15 minutes to let the thermal adhesive harden.
When the adhesive hardens take it back out of the host.
Then put the unit in the head.
It goes all the way in leaving the back end with the spring sticking out.
Now screw it back into the host body.
Next you will need a lens.

Screw it into the focus adapter. Make sure that it is tight.
Now screw the focus adapter into the module. I like to turn the laser on and screw it to a focused point before putting in the retaining ring.
Next get the retaining ring and screw it down tight on the head.
And you are finished with the assembly of this unit.

Pop in a battery and you are ready to go.
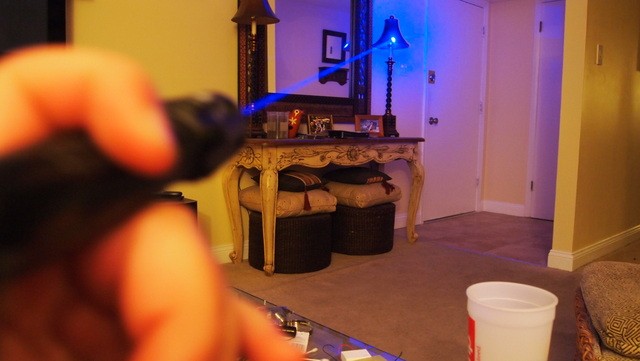
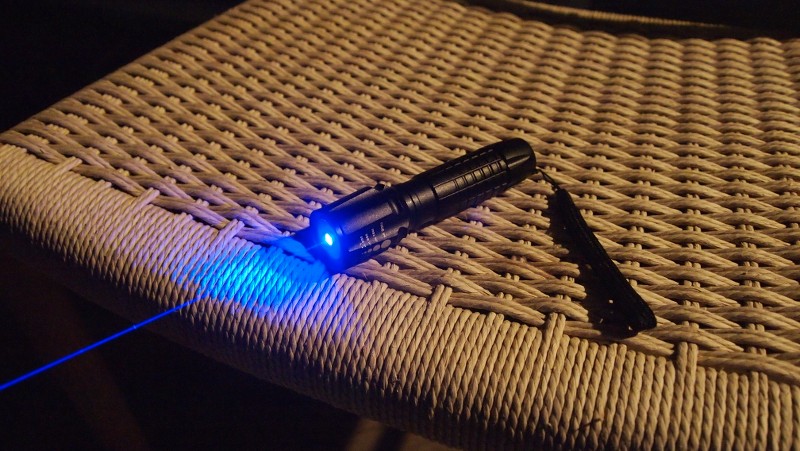
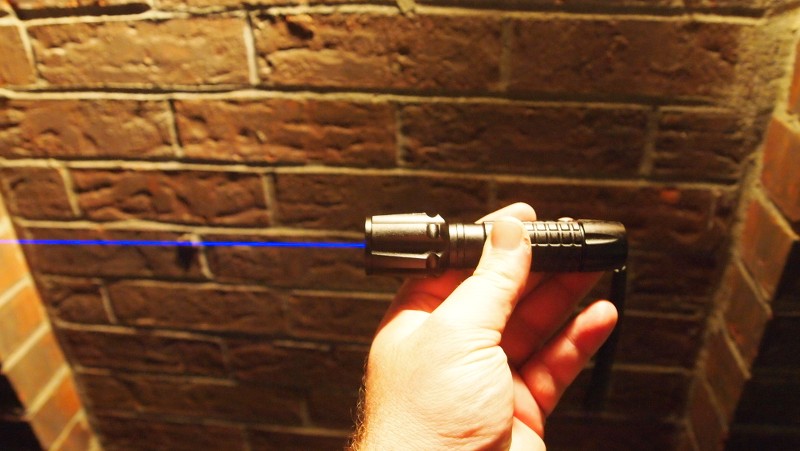
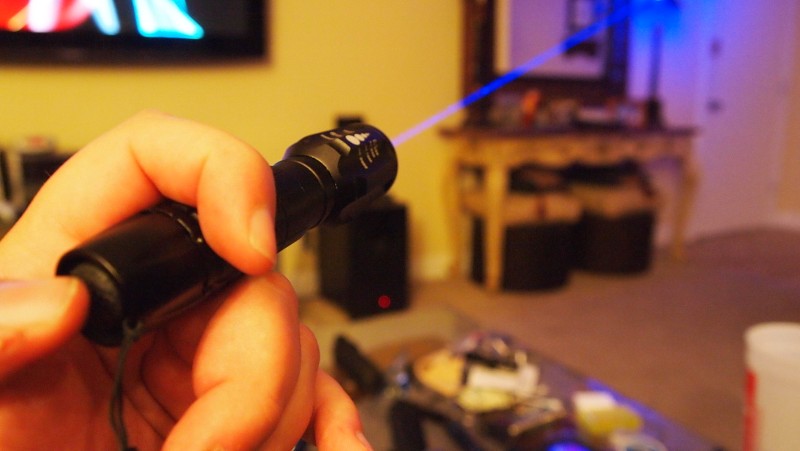
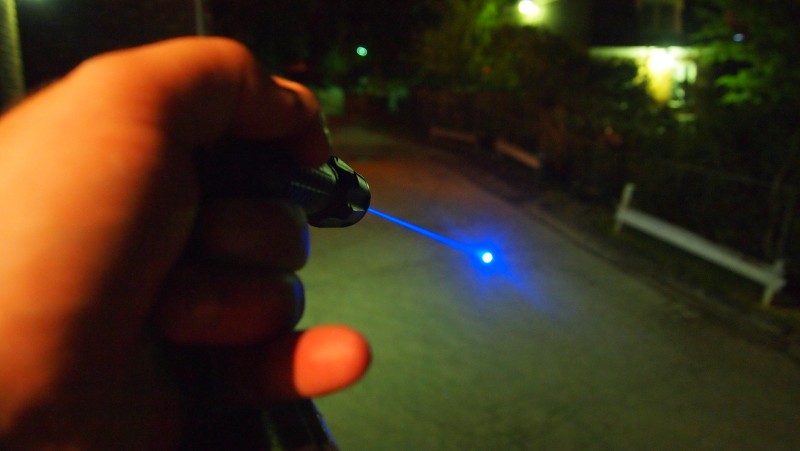
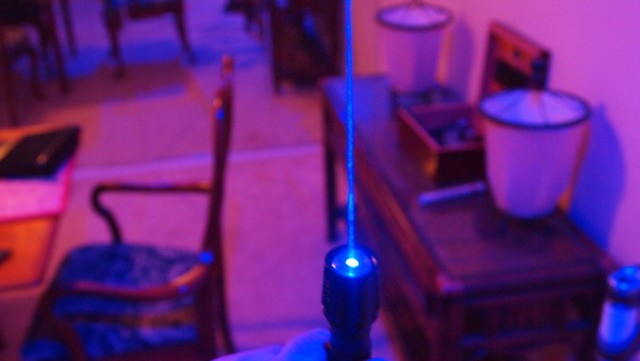
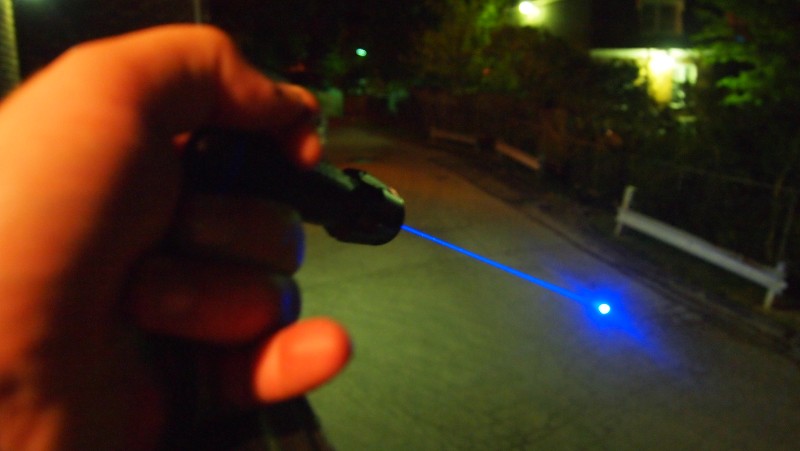
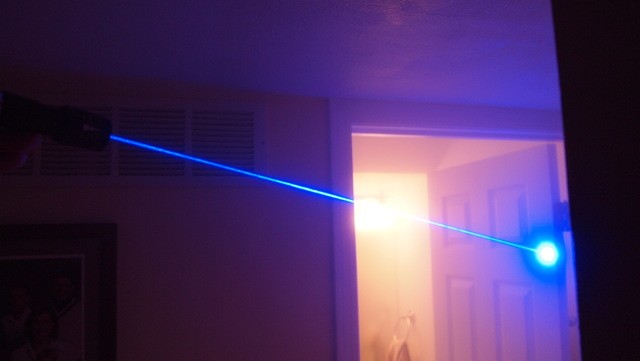
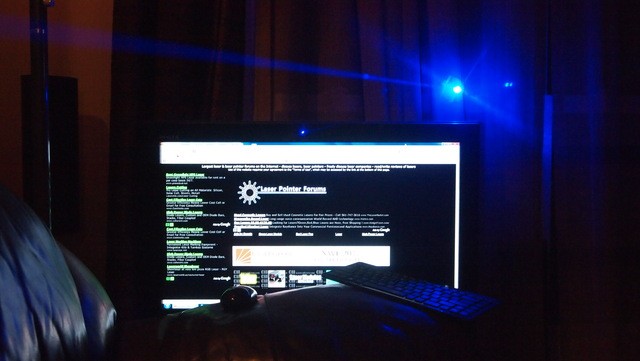
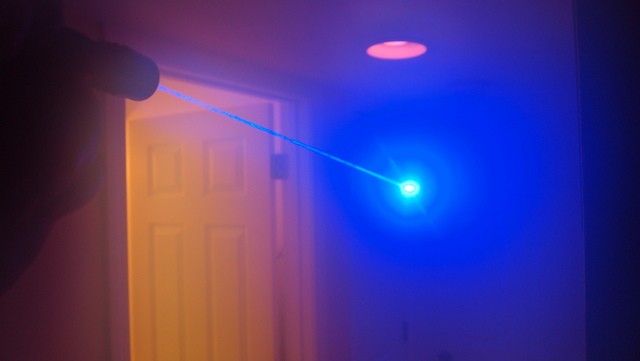
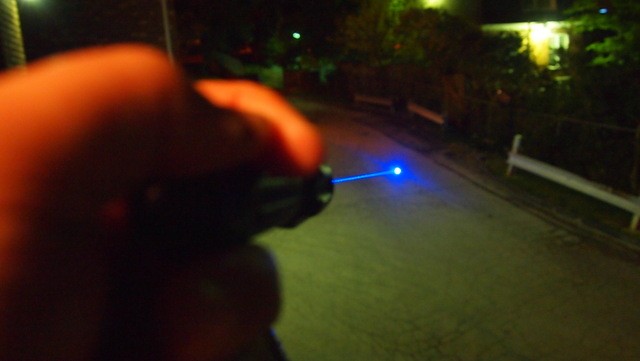
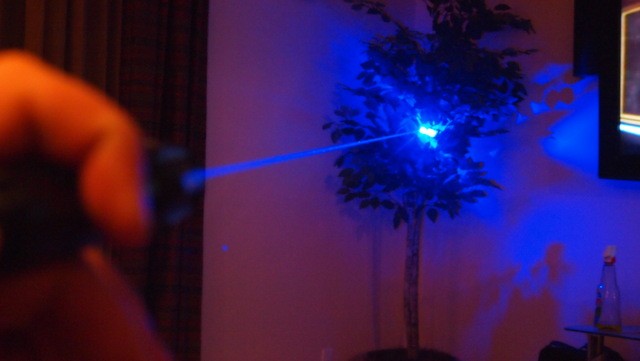
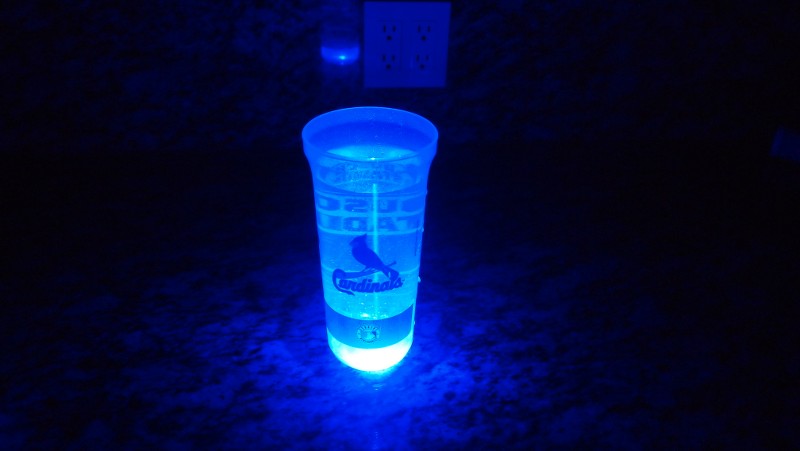
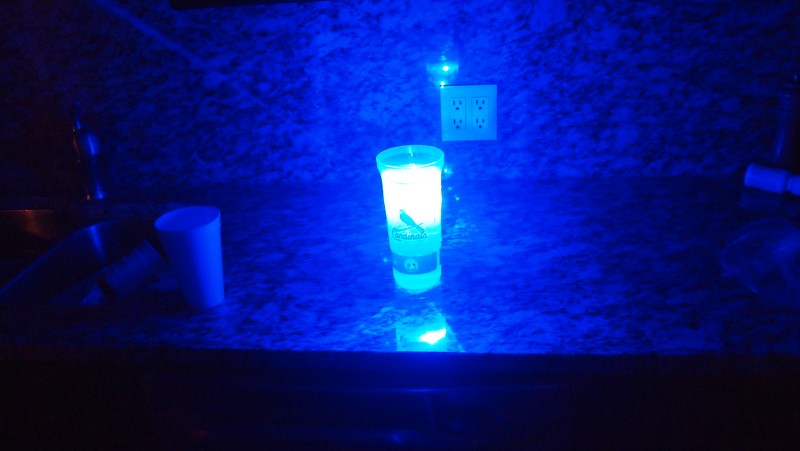
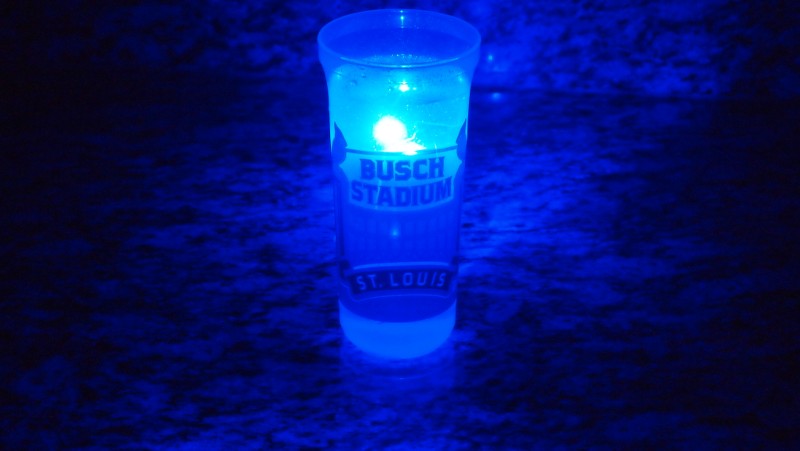
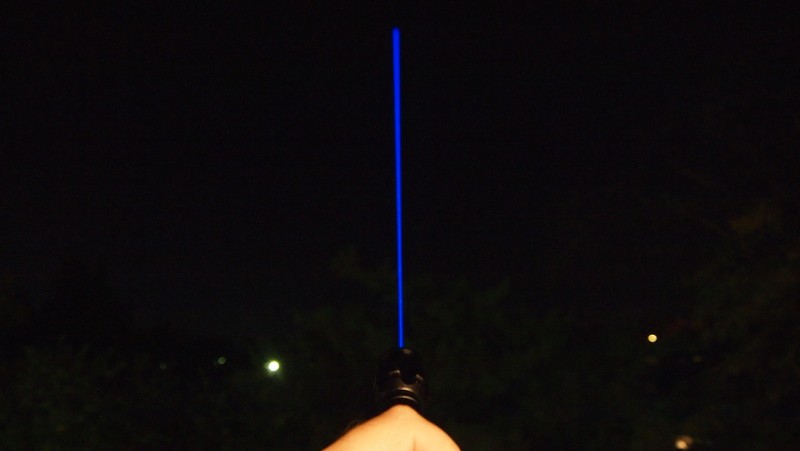
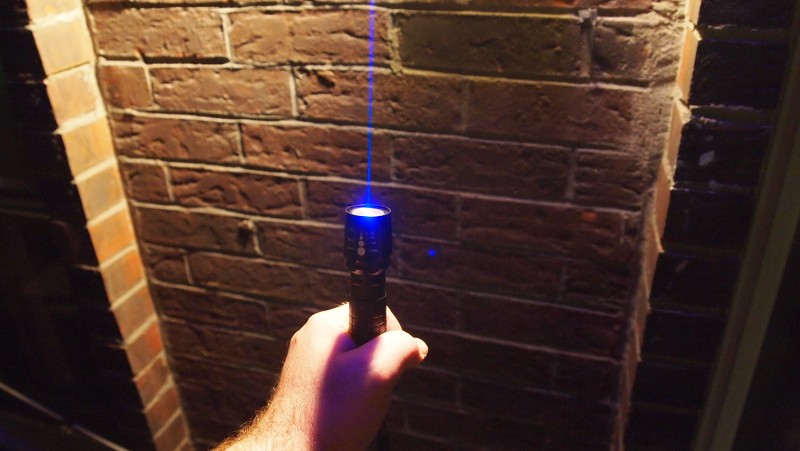
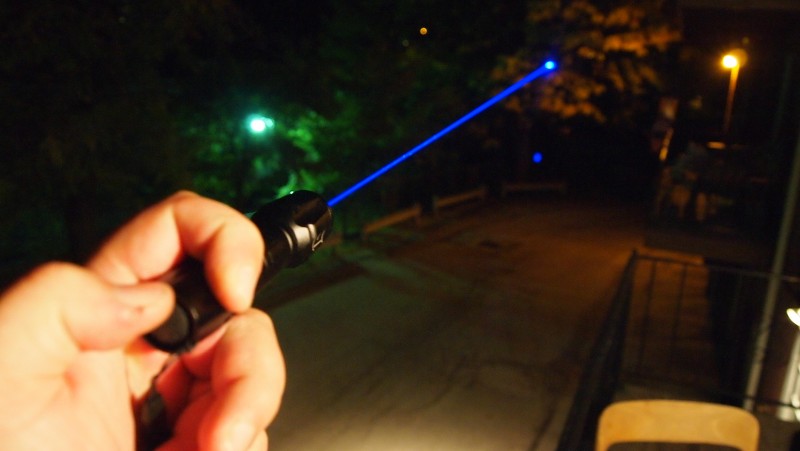
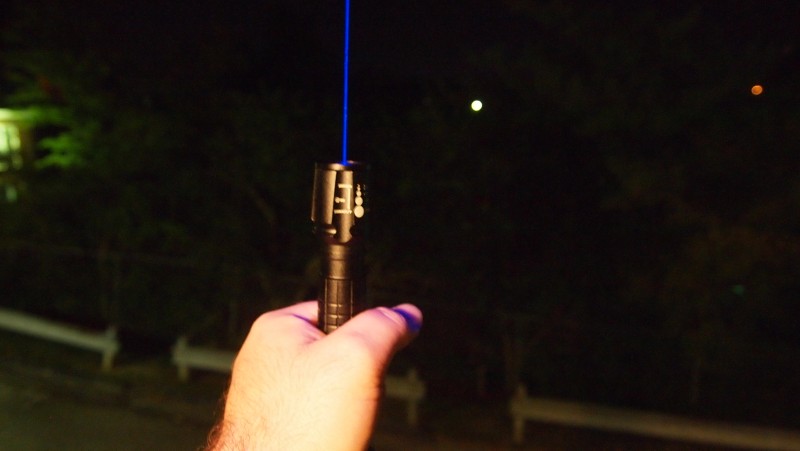
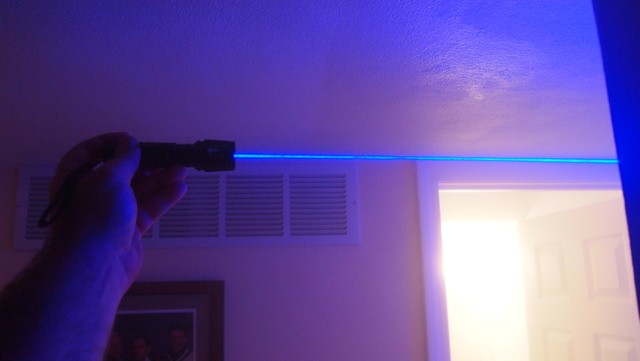
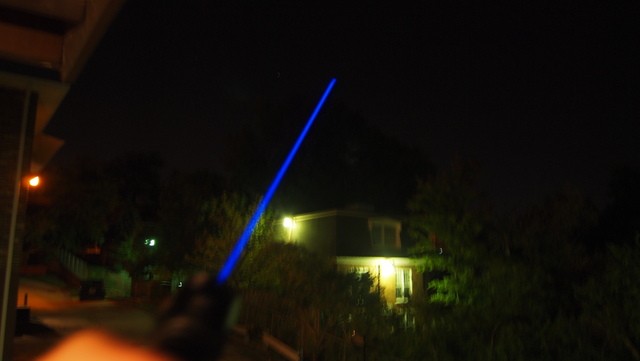
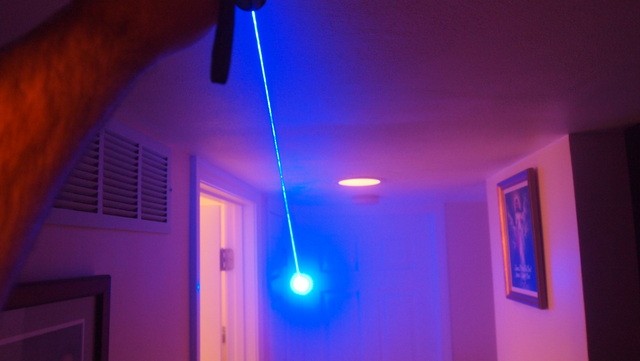
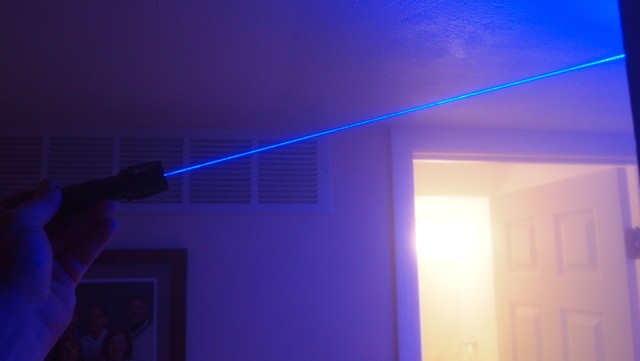
*Beamshots*
Now another fun part of doing these reviews. Beamshots.


*Videos*
Here are some videos of this unit in action.
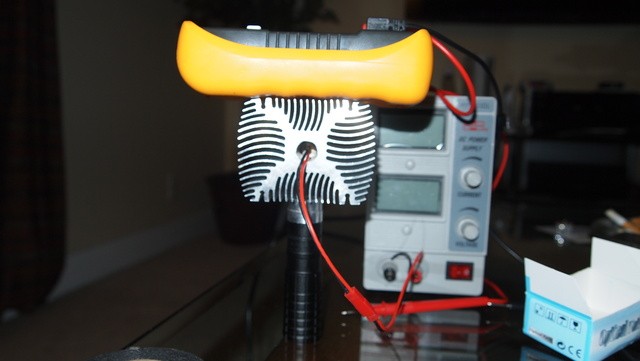
*Power Test*

Here is the LPM test. Test was done with a 405-G-1 Lens.
*Final Thoughts*
This is a great little host. Small sleek body. Takes an 18650. Focusing head for a flat face look.
It is perfect for any power 405 builds and 1W 445 builds. I suggest 1W because this is a smaller host and I am not sure how it would handle the heat generated at higher outputs.
Only thing that I would like to see added would be a set screw on the pill that holds the heatsink in place eliminating the need for the thermal adhesive. But other than that everything is great.
Great job Moh. Another awesome host kit.:beer:
*
*
*
*
*
*
*
*
*
*
*
*
*
Last edited:


